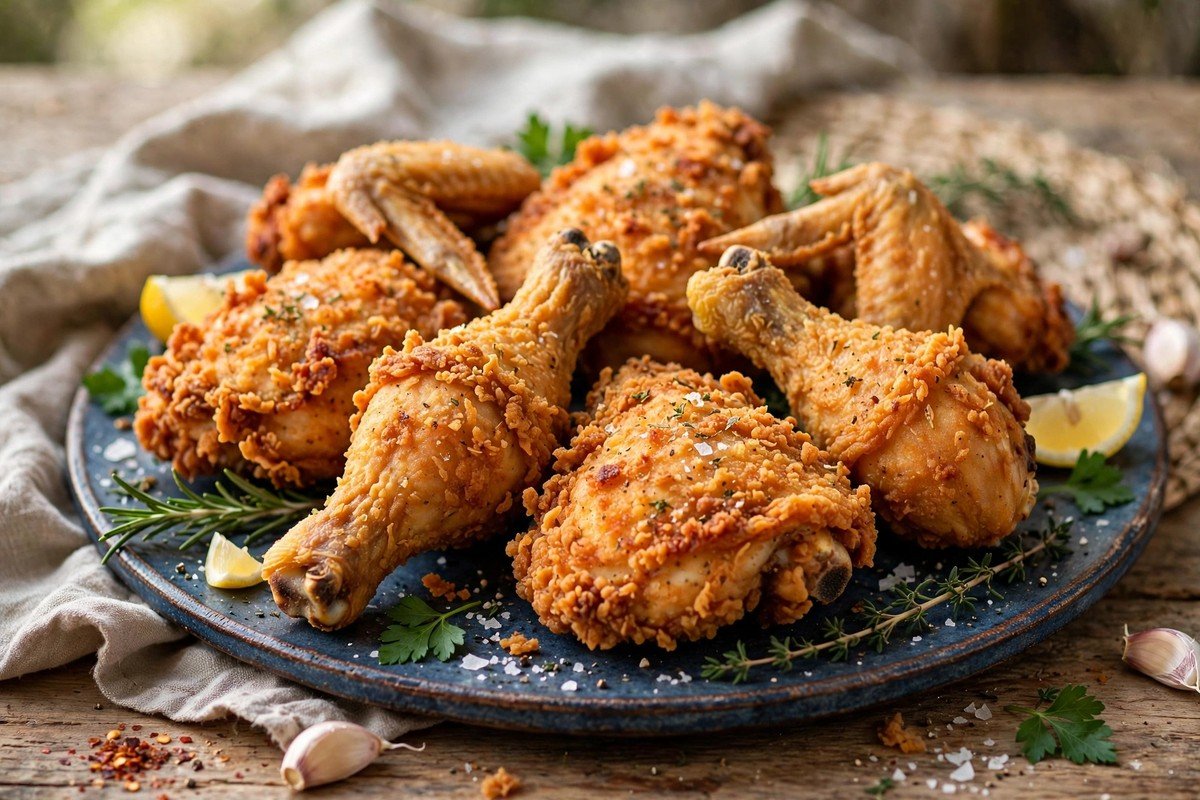
The first time I had real Southern fried chicken, I could not believe how juicy it was inside and how crunchy it was outside. I had tried making it at home before, but mine always came out either too dry or the coating fell right off. I finally learned that the secret is soaking the chicken in buttermilk first, and it honestly changed everything for me.
This recipe is the one I make now whenever friends come over. It takes a little patience, but it is not hard at all. You just need buttermilk, seasoned flour, and a big pan of hot oil. Let me walk you through exactly how I do it.
Ingredients
- 8 pieces chicken (a mix of thighs, drumsticks, and breast pieces), about 3 pounds
- 2 cups buttermilk
- 1 tablespoon hot sauce (optional, but I love it)
- 2 cups all-purpose flour
- 1 tablespoon paprika
- 1 tablespoon garlic powder
- 1 teaspoon onion powder
- 1 tablespoon salt, plus more to taste
- 1 teaspoon black pepper
- 1 teaspoon cayenne pepper
- 1 teaspoon baking powder
- Vegetable or peanut oil for frying (about 6 cups, enough for 1 inch deep in your pan)
Steps
1. Soak the chicken in buttermilk
Put the chicken pieces in a big bowl and pour the buttermilk and hot sauce over them. Turn the pieces so they are all coated. Cover the bowl and put it in the fridge for at least 4 hours, or overnight if you can. This soak is what makes the chicken so tender and juicy. I usually do this step the night before, so it is one less thing to think about on cooking day.
2. Mix your seasoned flour
In a large shallow dish or a paper bag, whisk together the flour, paprika, garlic powder, onion powder, salt, black pepper, cayenne pepper, and baking powder. The baking powder is my little trick. It helps the crust get extra crispy and golden. Taste the flour mix if you want and add a little more salt or pepper. You want it well seasoned, because this is where most of the flavor comes from.
3. Dredge the chicken
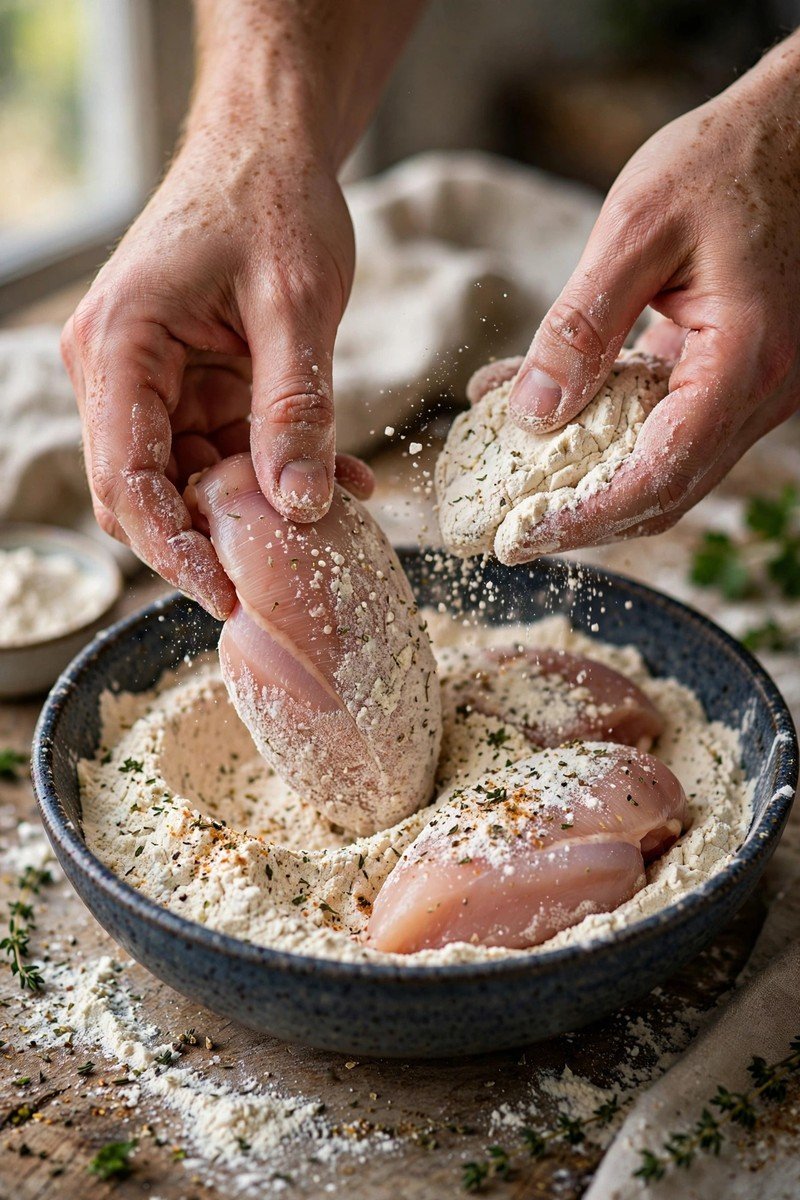
Take one piece of chicken out of the buttermilk, letting the extra drip off. Press it firmly into the flour mixture, turning it so every side is coated thick. Really press the flour on. Then put the coated piece on a wire rack and repeat with the rest. Once all the pieces are coated, let them sit for 10 to 15 minutes. This rest helps the coating stick to the chicken so it does not fall off in the oil.
4. Heat the oil
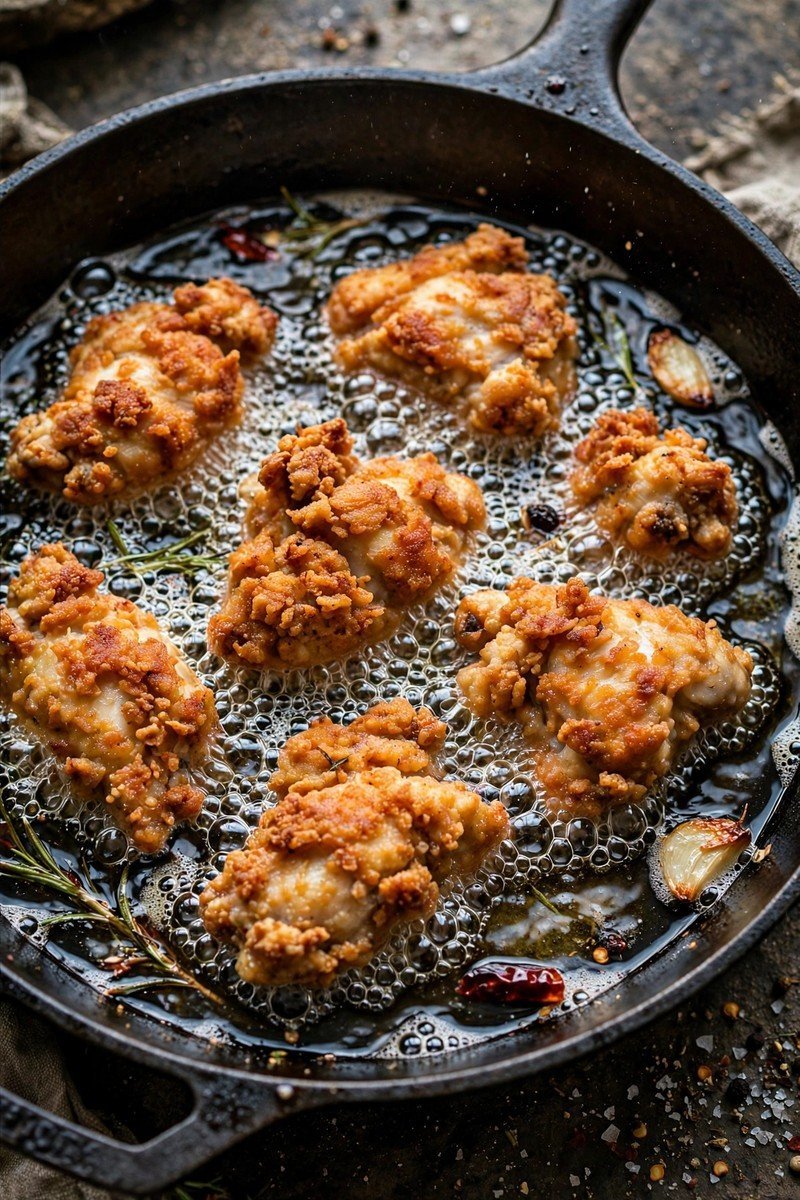
Pour the oil into a large heavy skillet, like a cast iron pan, until it is about 1 inch deep. Heat it over medium-high heat until it reaches 350 degrees Fahrenheit. If you do not have a thermometer, drop a tiny bit of the flour mix into the oil. If it sizzles right away, you are ready. Do not rush this step. Oil that is too cool will give you greasy chicken, and that is no fun.
5. Fry the chicken in batches
Gently place 3 or 4 pieces of chicken into the hot oil, skin side down. Do not crowd the pan, or the oil temperature will drop. Fry for about 6 to 7 minutes on the first side until it is deep golden brown. Turn each piece carefully with tongs and fry the other side for another 6 to 8 minutes. Dark meat like thighs and drumsticks takes a bit longer than breast pieces, so keep an eye on them.
6. Check that it is done inside
The safest way to know the chicken is done is to check the inside temperature. It should read 165 degrees Fahrenheit on a meat thermometer. If you do not have one, cut into the thickest part of a piece. The juices should run clear and there should be no pink meat. If the outside is getting too dark but the inside needs more time, just lower the heat a little and keep going.
7. Drain on a rack
Move the finished pieces to a wire rack set over a baking sheet. This lets the extra oil drip off while keeping the bottom crispy. Sprinkle a little extra salt over the chicken while it is hot. Do not put the chicken on paper towels. That is what I used to do, and it makes the bottom of the crust go soggy. A rack keeps every side crunchy.
8. Keep warm while you finish
If you are frying in batches, keep the first batch warm in the oven at 200 degrees Fahrenheit. Just leave them on the rack on the baking sheet right in the oven. This keeps them crispy without drying them out. Then let the chicken rest for about 5 minutes after the last piece comes out of the oil. This short rest lets the juices settle so every bite is tender.
Tips
Let your chicken come out of the fridge about 30 minutes before you fry it, because cold chicken drops the oil temperature fast. And save your buttermilk brine if you want to fry chicken again soon, though I usually make it fresh each time. If you like it spicier, just add more cayenne pepper to the flour mix.
Conclusion
I hope you love this fried chicken as much as my friends and I do. It is crunchy, juicy, and full of flavor, and it tastes like the real Southern recipe I fell in love with. Serve it with coleslaw or biscuits, or just eat it warm right off the rack like I always do.