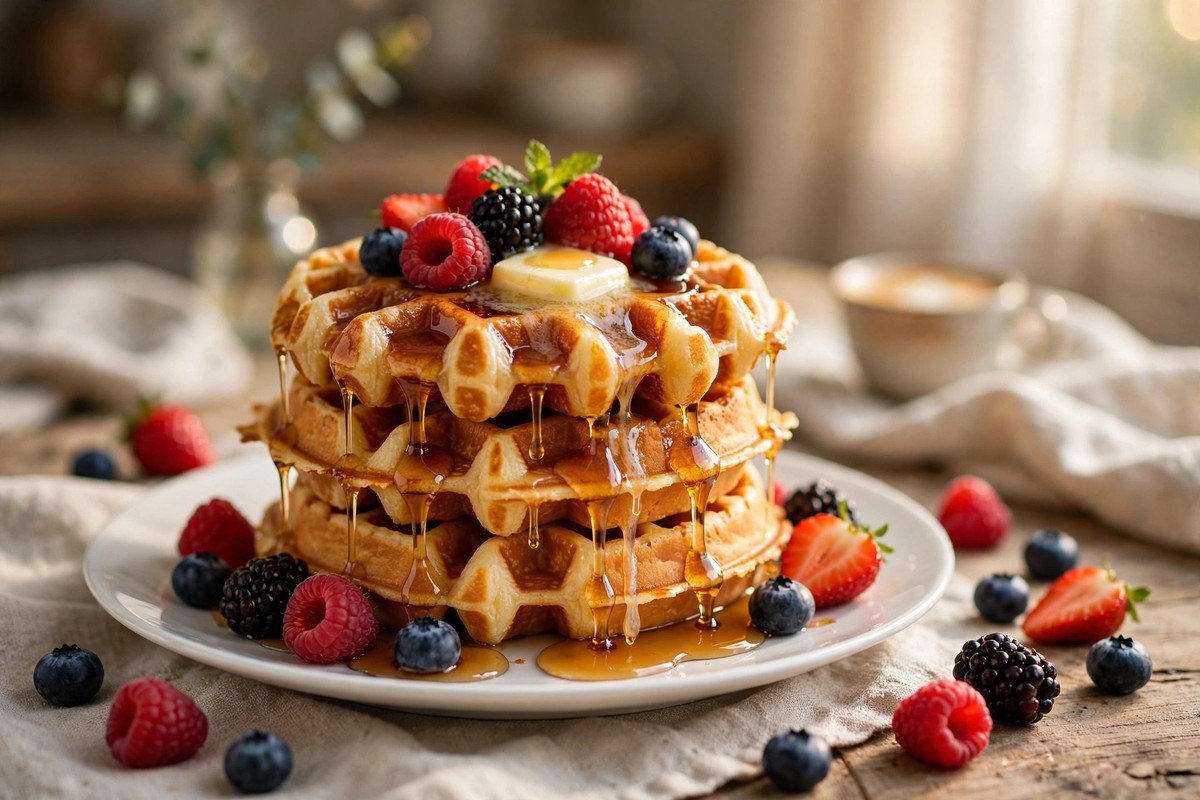
Weekend waffles were a big deal in my house growing up. Someone would fire up the waffle iron on Saturday morning, and the whole family would drift into the kitchen one by one. These are the waffles I make now, crispy on the outside and soft and fluffy inside, thanks to real buttermilk.
Ingredients
- 2 cups all-purpose flour
- 2 tablespoons sugar
- 1 tablespoon baking powder
- 1/2 teaspoon baking soda
- 1/2 teaspoon salt
- 2 cups buttermilk, shaken
- 2 large eggs
- 1/3 cup unsalted butter, melted and slightly cooled
- 1 teaspoon vanilla extract
- Butter and warm maple syrup, for serving
Steps
1. Preheat the waffle iron
Turn your waffle iron on to medium-high heat and let it get fully hot before you add any batter. A hot iron is what gives you that crisp golden outside. If your iron has a ready light, wait for it to come on. While it heats, you can mix the batter.
2. Mix the dry ingredients
In a large bowl, whisk together the flour, sugar, baking powder, baking soda, and salt. Whisking them first makes sure the leavening is spread evenly, so every waffle rises the same. It only takes a few seconds, but it makes a real difference. Set the bowl aside.
3. Mix the wet ingredients
In a separate bowl or a large measuring cup, whisk the buttermilk, eggs, melted butter, and vanilla until smooth. The butter should not be hot when you add it, just warm, so it does not scramble the eggs. The buttermilk is the key here. It reacts with the baking soda and gives the waffles their tang and tenderness.
4. Combine, but do not overmix
Pour the wet ingredients into the dry ingredients and stir gently with a wooden spoon just until the flour disappears. A few small lumps are perfectly fine. If you stir too much, the waffles will turn out tough instead of fluffy. Let the batter rest for 5 minutes while the iron finishes heating.

5. Cook the waffles
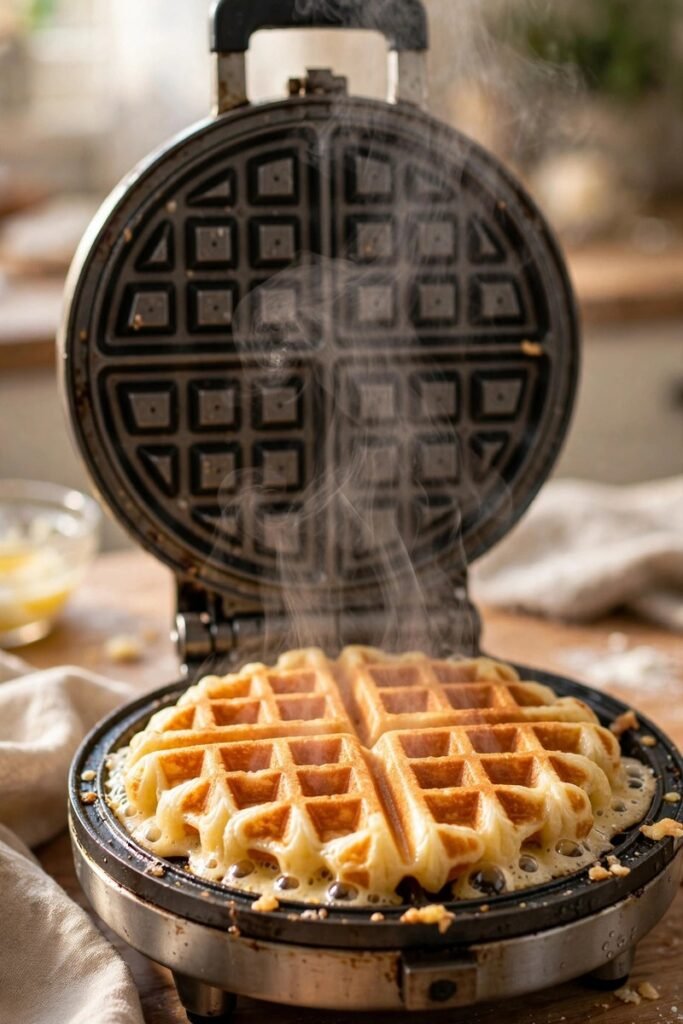
Lightly brush the hot iron with melted butter or spray it with cooking spray. Pour in enough batter to fill the iron, usually about 1/2 to 3/4 cup, and close the lid. Cook for 4 to 5 minutes until the waffle is deep golden brown and the steam stops pouring out of the sides. Lift it out gently with a fork or tongs.
6. Keep them warm and crisp
Place finished waffles directly on the rack of an oven set to 200 degrees Fahrenheit. Do not stack them on a plate, because the steam gets trapped and they turn soggy. The oven rack keeps air moving around them so they stay crispy. This trick keeps the whole batch perfect while you finish cooking.
7. Repeat with the rest of the batter
Give the batter a gentle stir between batches and keep cooking until it is all gone. This recipe makes about 6 to 8 waffles, depending on the size of your iron. If the iron starts sticking, brush it with a little more butter. Each batch cooks the same as the first.
8. Serve them hot
Top each waffle with a pat of butter and warm maple syrup. I also love adding fresh berries or sliced bananas on top. Serve them right away while they are still crisp. Cold waffles are a sad thing, and these deserve to be eaten hot.
Tips
Leftover waffles freeze really well. Let them cool, stack them with parchment paper between each one, and freeze in a zip bag. Just pop one in the toaster straight from the freezer for a fast weekday breakfast.
Conclusion
I hope these waffles bring a little weekend magic to your mornings. They are crispy, fluffy, and so much better than anything from a box. Make a big batch, gather everyone around the table, and enjoy.