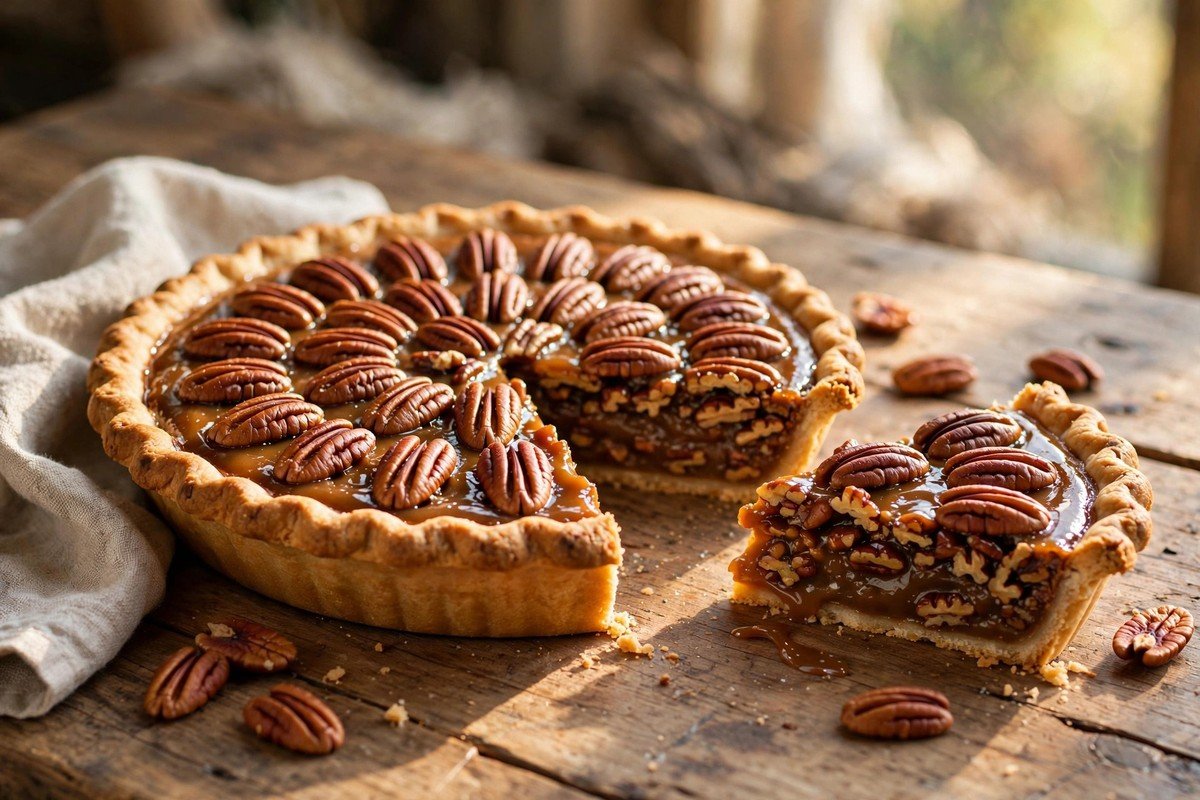
Pecan pie tastes like the holidays to me. The filling is sweet and gooey, the pecans are toasty and a little salty, and the whole thing sits in a buttery flaky crust. The first time I made one, I was nervous it would turn out too sweet or runny, but this recipe has never let me down.
Ingredients
For the filling:
- 1 cup light corn syrup
- 1 cup packed light brown sugar
- 1/2 cup unsalted butter, melted and slightly cooled
- 3 large eggs, at room temperature
- 1 teaspoon vanilla extract
- 1/4 teaspoon salt
- 1 1/2 cups pecan halves, plus extra for the top
For the crust:
- 1 unbaked 9-inch pie crust (homemade or store-bought), fitted into a pie dish
Steps
1. Get the oven and crust ready
Heat your oven to 350 degrees Fahrenheit. Fit the pie crust into a 9-inch pie dish, trim the edge, and crimp it with your fingers or a fork. Place the dish on a baking sheet. This catches any drips and makes the pie easier to move in and out of the oven.
2. Whisk the syrup and sugar
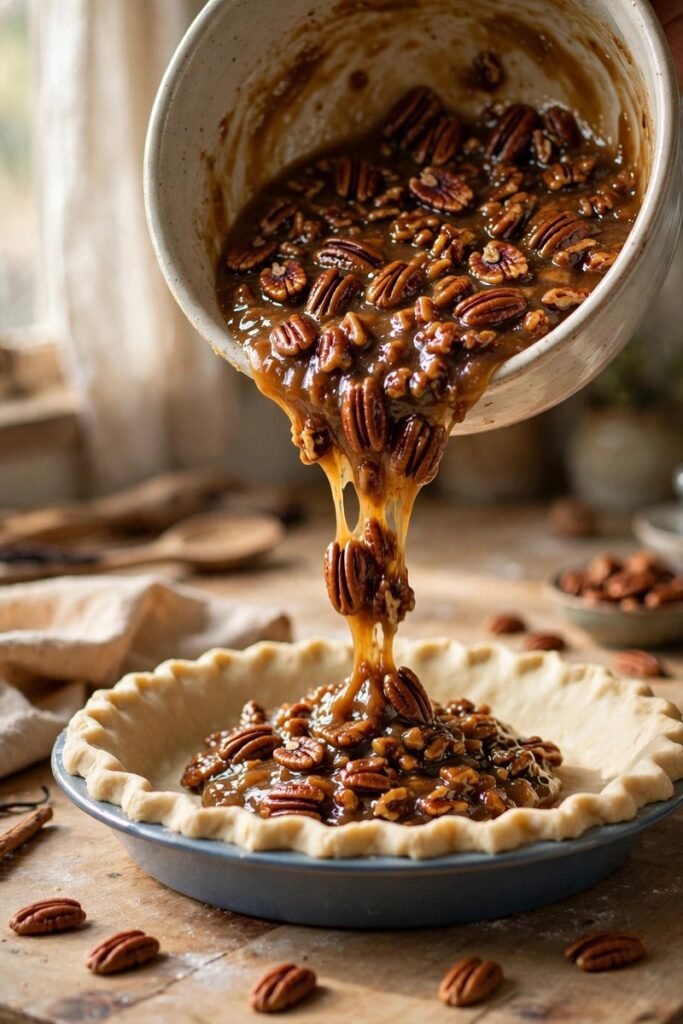
In a large bowl, whisk together the corn syrup, brown sugar, and melted butter until smooth. Make sure the butter is not hot, or it will cook the eggs in the next step. The mixture should look glossy and even. This sweet base is what turns into that famous gooey filling.
3. Add the eggs, vanilla, and salt
Whisk in the eggs one at a time, then stir in the vanilla and salt. Mix until everything is fully combined and smooth. The salt is important here. It balances the sweetness and makes the pecans taste even better. Do not skip it.
4. Fold in the pecans
Stir in the 1 1/2 cups of pecan halves until they are all coated in the filling. Save a small handful of the prettiest pecans for decorating the top. I like toasting the pecans in a dry skillet for 3 to 4 minutes first, because it brings out their nutty flavor. This step is optional but worth it.
5. Pour the filling into the crust
Pour the filling into the unbaked pie crust, spreading the pecans out evenly with a spoon. The filling should come to just below the top of the crust. Arrange the reserved pecan halves in a pretty pattern on top if you like. It makes the finished pie look bakery-perfect.
6. Bake low and slow
Bake for 50 to 60 minutes. The pie is done when the edges are set but the center still jiggles slightly when you gently shake the pan. That little jiggle means the filling will set up creamy instead of dry. If the crust edges brown too quickly, cover them with foil strips for the last 15 minutes.
7. Cool it completely
This is the hardest part. Let the pie cool on a wire rack for at least 3 to 4 hours, or overnight if you can wait. The filling finishes setting as it cools, and cutting too early gives you a runny slice. I know it smells incredible, but patience pays off here.
8. Slice with a warm knife
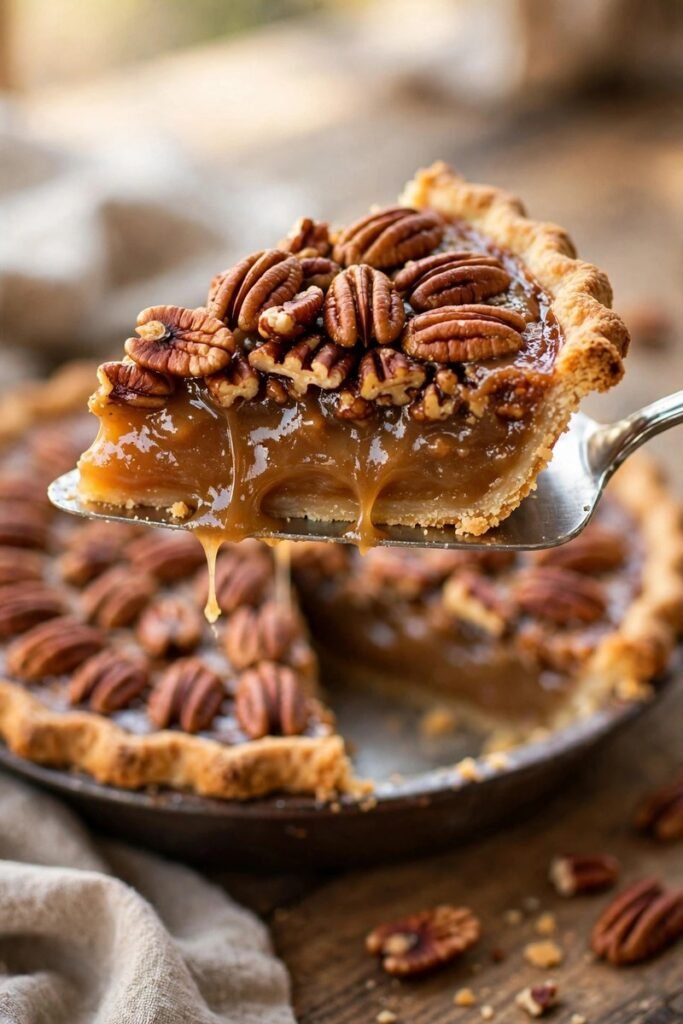
Run a long knife under hot water and dry it, then cut the pie into slices. The warm blade glides right through the sticky filling. Wipe the knife clean between cuts for the prettiest slices. Each piece should hold its shape with a glossy, gooey center.
9. Serve with something creamy
Serve each slice with a dollop of whipped cream or a scoop of vanilla ice cream. The cold creaminess against the warm sweet pie is the best combination. A sprinkle of flaky salt on top is also wonderful if you like sweet and salty together.
Tips
Store leftover pecan pie covered at room temperature for up to 2 days, or in the fridge for up to 4 days. It also freezes beautifully for up to 2 months if you wrap it well.
Conclusion
I hope this pecan pie earns a spot in your holiday baking lineup. It is rich, nutty, and deeply comforting, and it always gets compliments. Bake one for the people you love and watch it disappear.