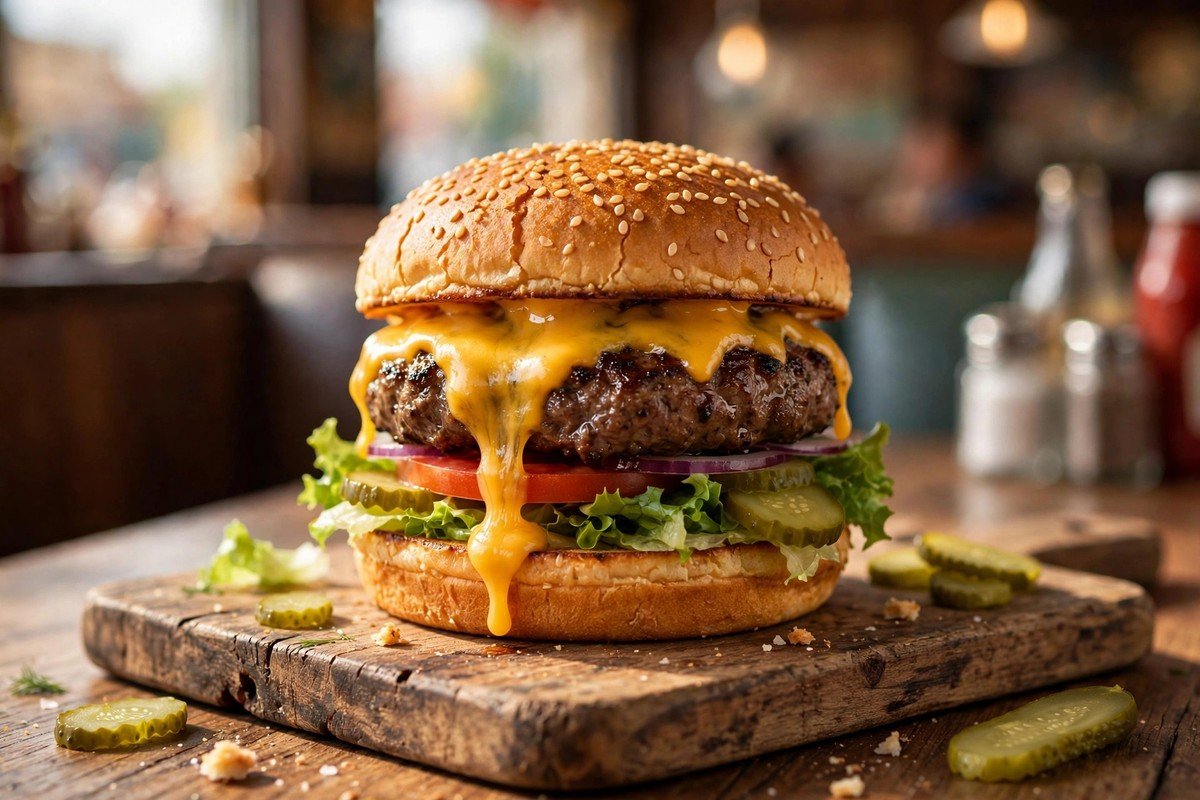
I will be honest. I did not grow up eating cheeseburgers. But once I tried a real homemade one, I understood why Americans love them so much.
There is something about a juicy patty, melted cheese, and a soft toasted bun that just makes sense. After a few tries in my own kitchen, I finally got it right. This is the recipe I now make whenever friends come over, and it never disappoints.
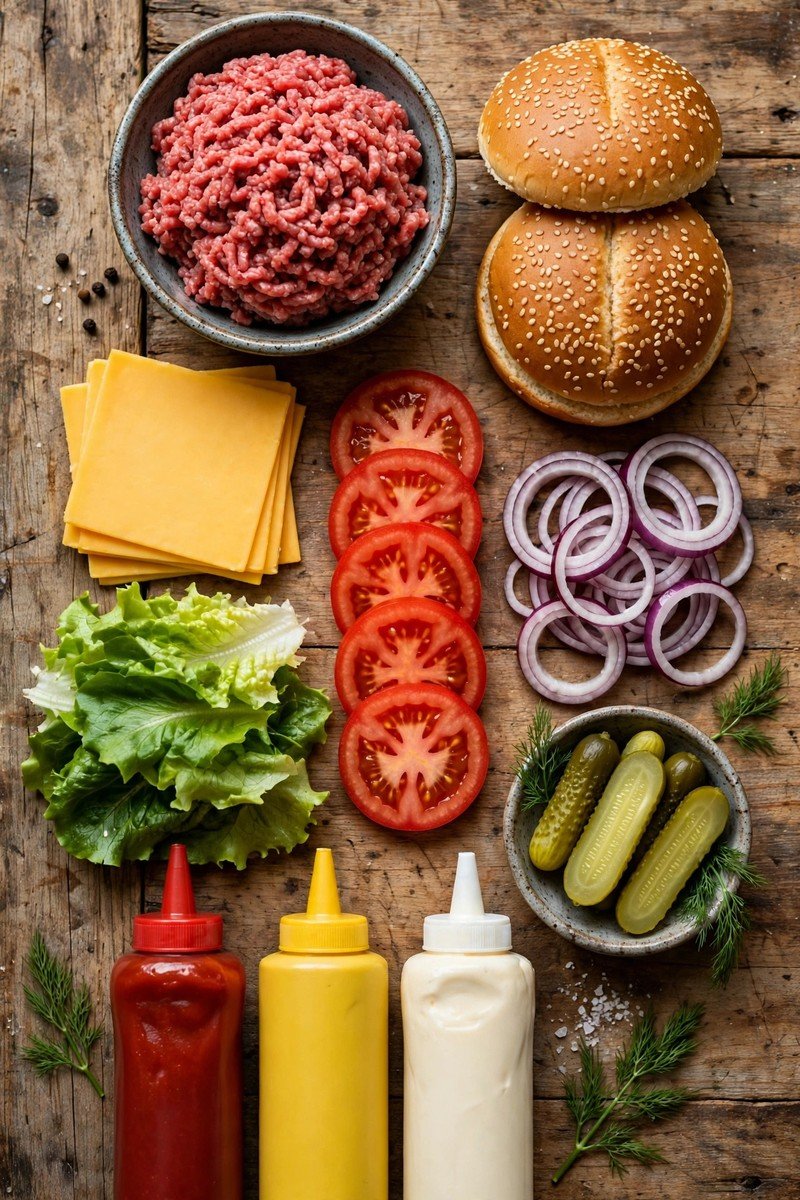
Ingredients
- 1.5 lbs ground beef (80/20 is best for juicy burgers)
- 1 teaspoon salt
- 1/2 teaspoon black pepper
- 1/2 teaspoon garlic powder
- 4 slices cheddar cheese
- 4 burger buns (sesame seed or brioche)
- 2 tablespoons butter, softened
- Lettuce leaves
- 1 large tomato, sliced
- 1/2 red onion, thinly sliced
- Dill pickle slices
- Ketchup, mustard, and mayonnaise, for serving
Steps
1. Season the beef gently
Put the ground beef in a large bowl. Sprinkle the salt, black pepper, and garlic powder over it. Use your hands to mix the seasoning in, but do it lightly. If you squeeze and press the meat too much, the burgers will turn out dense and tough. It should take less than a minute of gentle mixing.
2. Shape the patties
Divide the meat into 4 equal portions. Roll each one loosely into a ball, then flatten it into a patty about 3/4 inch thick. Make the patties a little wider than your buns, because they shrink as they cook. Press a small dent into the center of each patty with your thumb. This little trick keeps them flat instead of puffing up like a ball.
3. Get everything ready first
Burgers cook fast, so do all your prep before the heat goes on. Slice the tomato and onion. Wash and dry the lettuce. Lay out the pickles and condiments. Spread softened butter on the cut sides of the buns. When everything is within reach, cooking feels calm instead of rushed.
4. Heat your grill or pan
Heat a grill, grill pan, or cast iron skillet over medium-high heat. You want it properly hot before the meat touches it. A hot surface gives you that beautiful brown crust on the outside. If the pan is not hot enough, the burgers will steam instead of sear, and you will miss all that flavor.
5. Sear the patties
Lay the patties on the hot surface and leave them alone for 3 to 4 minutes. Do not press them down with the spatula. Pressing squeezes out the juices, and the juices are the whole point. Flip once and cook the other side for another 3 to 4 minutes. For medium, the inside should reach 160 degrees on a meat thermometer.
6. Melt the cheese on top
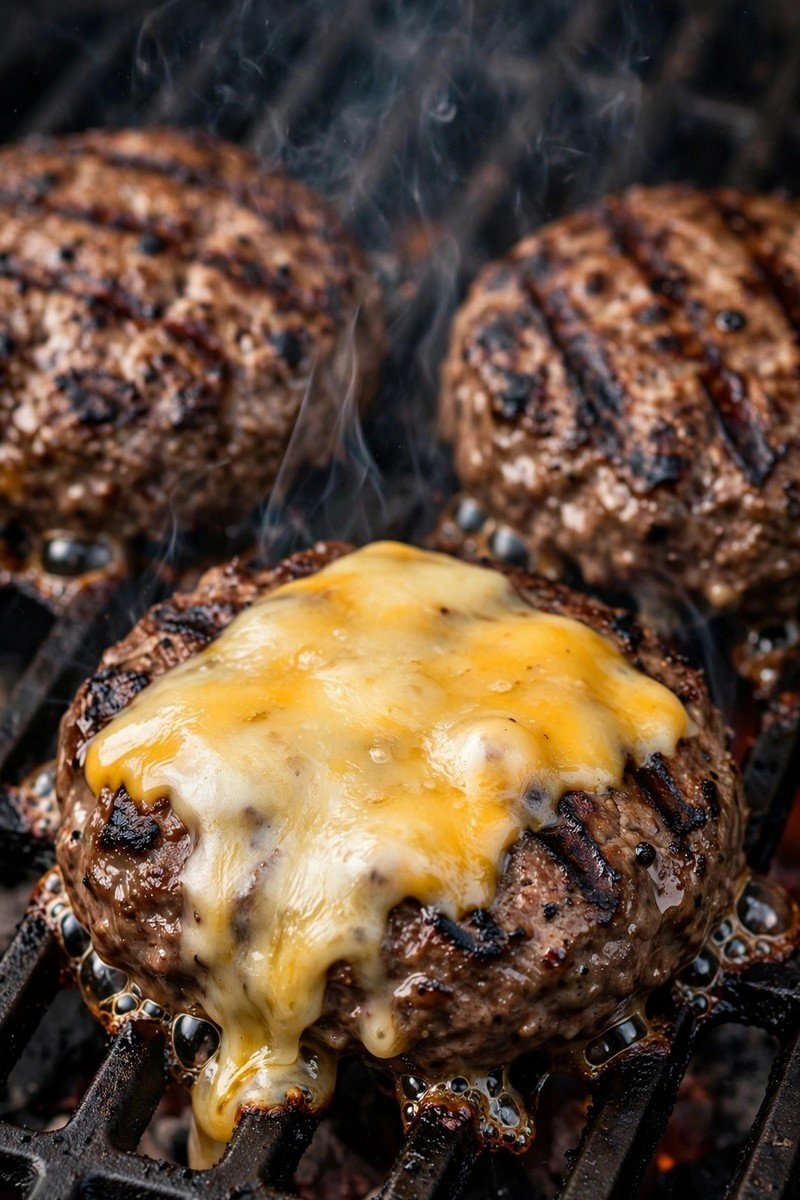
During the last minute of cooking, lay a slice of cheddar on each patty. If you are using a grill or pan with a lid, cover it for 30 seconds. The trapped heat melts the cheese perfectly over the patty. That drippy melted cheese is what makes it a cheeseburger and not just a burger.
7. Toast the buns
While the cheese melts, place the buttered buns cut-side down on the grill or in a dry pan. Toast for 1 to 2 minutes until golden. This step matters more than people think. A toasted bun holds up to the juicy patty and does not turn soggy. It also adds a warm, buttery crunch to every bite.
8. Build your burger
Now comes the fun part. Spread ketchup, mustard, and mayo on the buns the way you like. Start with lettuce on the bottom bun, because it protects the bun from getting wet. Add the cheesy patty, then tomato, onion, and pickles. Put the top bun on and press gently. Serve right away while everything is hot.
Tips
Let the cooked patties rest for 2 to 3 minutes before serving, so the juices settle back into the meat. If you want to get fancy, try pepper jack or Swiss instead of cheddar. Leftover cooked patties keep in the fridge for 3 days and reheat well in a covered pan.
Conclusion
This is the burger that made me fall in love with American cooking. Simple ingredients, a hot pan, and a little patience give you something better than any drive-through. Make these this weekend and see how fast they disappear.