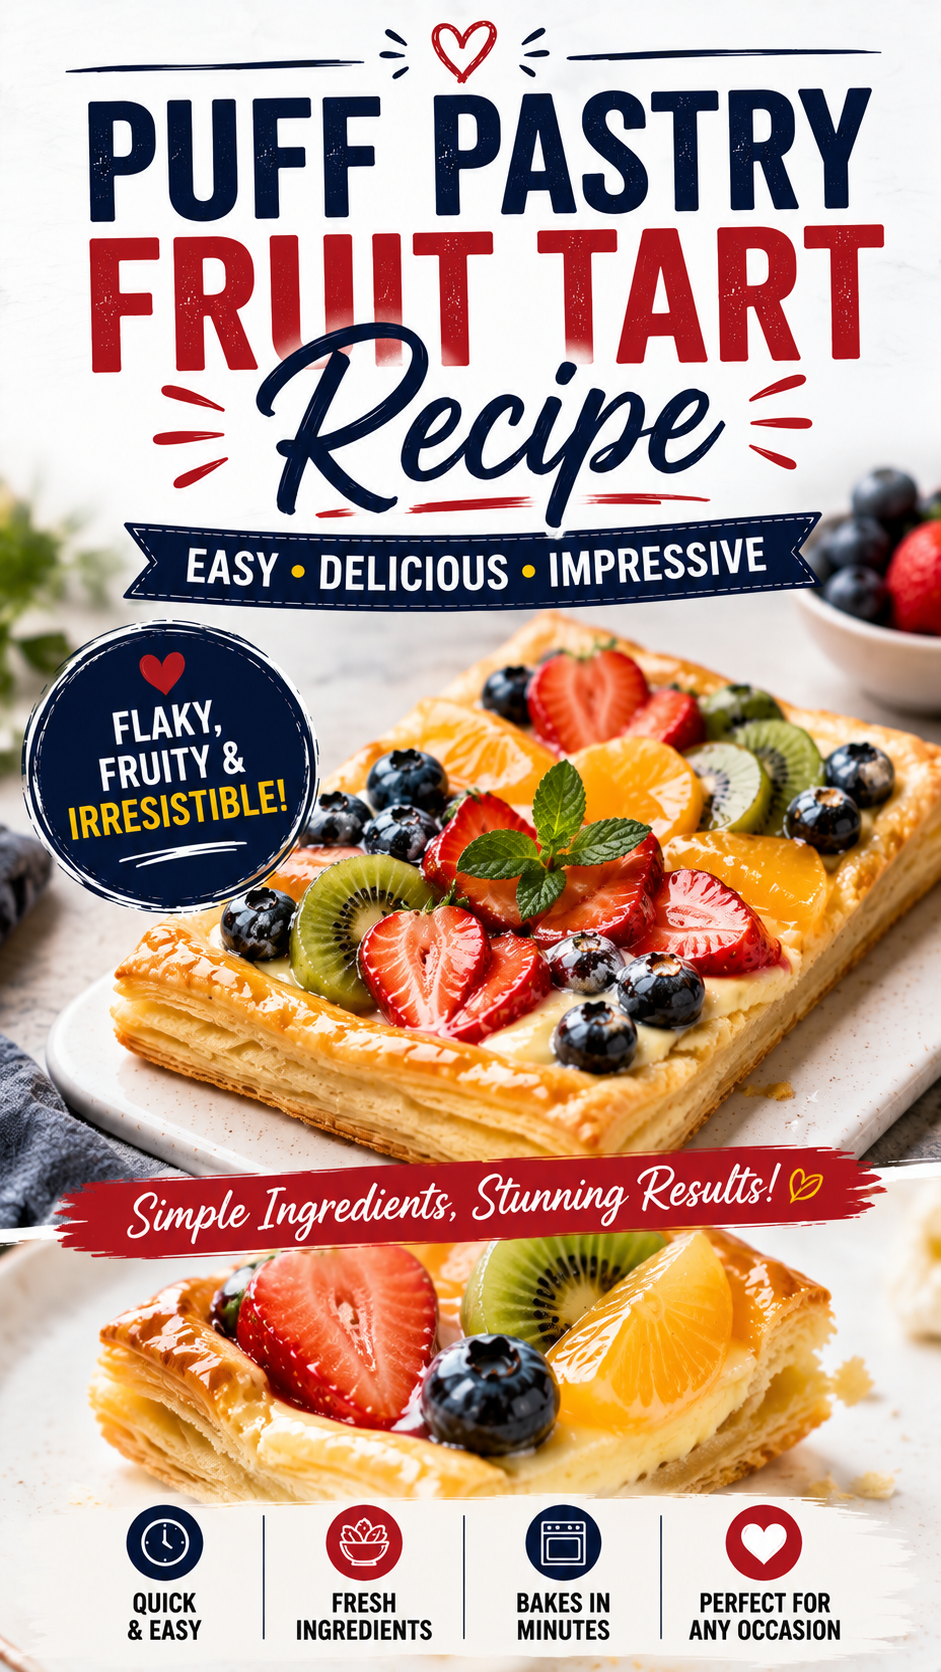
I used to avoid making tarts because the crust part always sounded intimidating. Then I found out puff pastry does basically all the hard work for you.
You just thaw it, cut it, add fruit, and let the oven puff it up into these gorgeous golden edges. No blind baking, no pastry cutter, no fancy technique required.
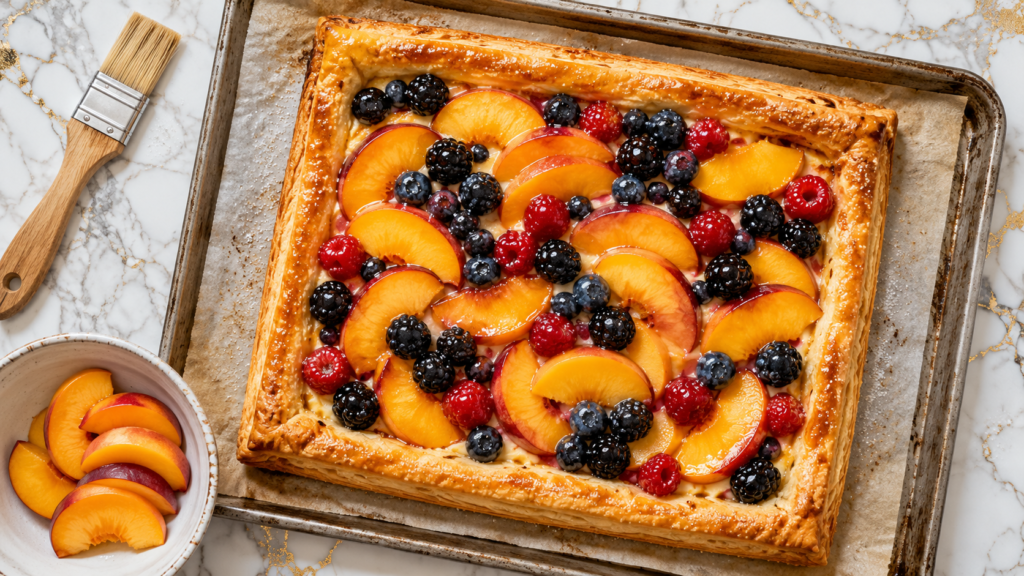
I’ve made this with peaches in the summer and apples in the fall, and it’s become one of those desserts people assume took a lot more effort than it actually did.
Why This Recipe Works
Store bought puff pastry is made of layers of butter and dough that puff up into flaky, crispy layers all on their own in the oven. That means you get bakery level texture without laminating a single thing yourself.
The fruit releases its juices as it bakes, which soak slightly into the edges of the pastry while the center stays crisp. It’s sweet, buttery, and a little tart all in one bite.
What You’ll Need
| Ingredient | Amount | Notes |
|---|---|---|
| Puff pastry sheet | 1 sheet | Thawed but still cold |
| Fresh fruit | 2-3 cups, sliced | Peaches, berries, apples, or a mix |
| Sugar | 1/4 cup | Plus more for sprinkling on top |
| Cornstarch | 1 tbsp | Helps thicken the fruit juices |
| Lemon juice | 1 tbsp | Brightens the fruit flavor |
| Egg | 1 | Beaten, for egg wash |
| Vanilla extract | 1/2 tsp | Optional |
| Cinnamon | 1/4 tsp | Optional, great with apples |
Tools You’ll Need
- Baking sheet
- Parchment paper
- Rolling pin
- Sharp knife
- Pastry brush
- Mixing bowl
Pro Tips
Keep the pastry cold until you’re ready to use it. Warm pastry doesn’t puff up nearly as well, so work quickly and pop it back in the fridge if it starts to soften.
Don’t skip the cornstarch. It keeps the fruit from making the pastry soggy in the middle, which is the difference between a crisp tart and a mushy one.
Score a border around the edges. Cutting a line about half an inch from the edge without cutting all the way through helps the border puff up higher than the center.
Use an egg wash for that golden shine. Brushing beaten egg on the exposed pastry edges gives you that glossy, bakery style finish.
Let it cool for at least 10 minutes before slicing. The fruit filling needs a moment to set, otherwise it’ll run everywhere when you cut into it.
Substitutions and Variations
| Original | Swap | Why It Works |
|---|---|---|
| Peaches | Apples or pears | Great for a fall version |
| Sugar | Honey or maple syrup | Slightly different sweetness, still works |
| Cornstarch | Flour | Similar thickening effect |
| Plain tart | Add mascarpone | Creamy layer under the fruit for extra richness |
| Single fruit | Mixed berries | Colorful and a nice mix of tart and sweet |
You can also make individual mini tarts by cutting the pastry into smaller squares instead of one large sheet. They bake a bit faster and are great for parties.
Make Ahead Tips
You can slice your fruit and mix it with the sugar, cornstarch, and lemon juice up to a day ahead. Keep it covered in the fridge until you’re ready to assemble.
I wouldn’t assemble the tart itself ahead of time though, since the pastry needs to go into the oven cold for the best rise.
Full Instructions
- Preheat your oven to 400°F and line a baking sheet with parchment paper.
- Roll out the puff pastry slightly on a floured surface, then transfer it to the baking sheet.
- Score a border about half an inch from the edge, being careful not to cut all the way through.
- In a bowl, toss the sliced fruit with sugar, cornstarch, lemon juice, vanilla, and cinnamon if using.
- Arrange the fruit inside the scored border, leaving the edges clear.
- Brush the exposed pastry border with the beaten egg, then sprinkle a little extra sugar over the fruit and edges.
- Bake for 20-25 minutes, until the pastry is puffed and deep golden brown.
- Let cool for at least 10 minutes before slicing and serving.
Nutrition Notes
A single slice of this tart runs around 220-260 calories depending on your fruit and how much sugar you use. It’s higher in carbs and fat thanks to the buttery pastry, but you can lighten it slightly by reducing the added sugar since fresh fruit already brings its own sweetness.
Serving Suggestions
This tart is great slightly warm with a scoop of vanilla ice cream on the side. A dollop of whipped cream works just as well if you want something lighter.
For brunch, I like serving it alongside coffee and a simple green salad to balance out the sweetness.
Leftovers and Storage
Store leftover tart at room temperature for up to a day, loosely covered. For longer storage, refrigerate for up to 3 days in an airtight container.
The pastry will lose a bit of its crispness in the fridge, so I recommend reheating slices in a 350°F oven for about 5-7 minutes to bring back some of that crunch before serving again.
FAQ
Can I use frozen fruit instead of fresh? Yes, just thaw it first and pat it dry so you’re not adding extra liquid to the tart.
Why did my pastry not puff up much? This usually happens if the pastry got too warm before baking. Keep it cold right up until it goes into the oven.
Can I make this ahead and bake it later? It’s best baked fresh, but you can prep the fruit filling a day ahead to save time.
Do I need to blind bake the pastry first? No, this recipe doesn’t require blind baking since the fruit and pastry bake together at the same time.
Can I use a different pastry instead of puff pastry? Puff pastry gives you that signature flaky texture, but pie crust would work in a pinch, though the texture will be quite different.
Wrapping Up
This tart proves you don’t need fancy pastry skills to make something that looks like it came from a bakery window. A sheet of puff pastry and some fresh fruit really is most of the work.
Try it with whatever fruit is in season right now and let me know in the comments how it turned out. I always love hearing which fruit combo people end up loving most.