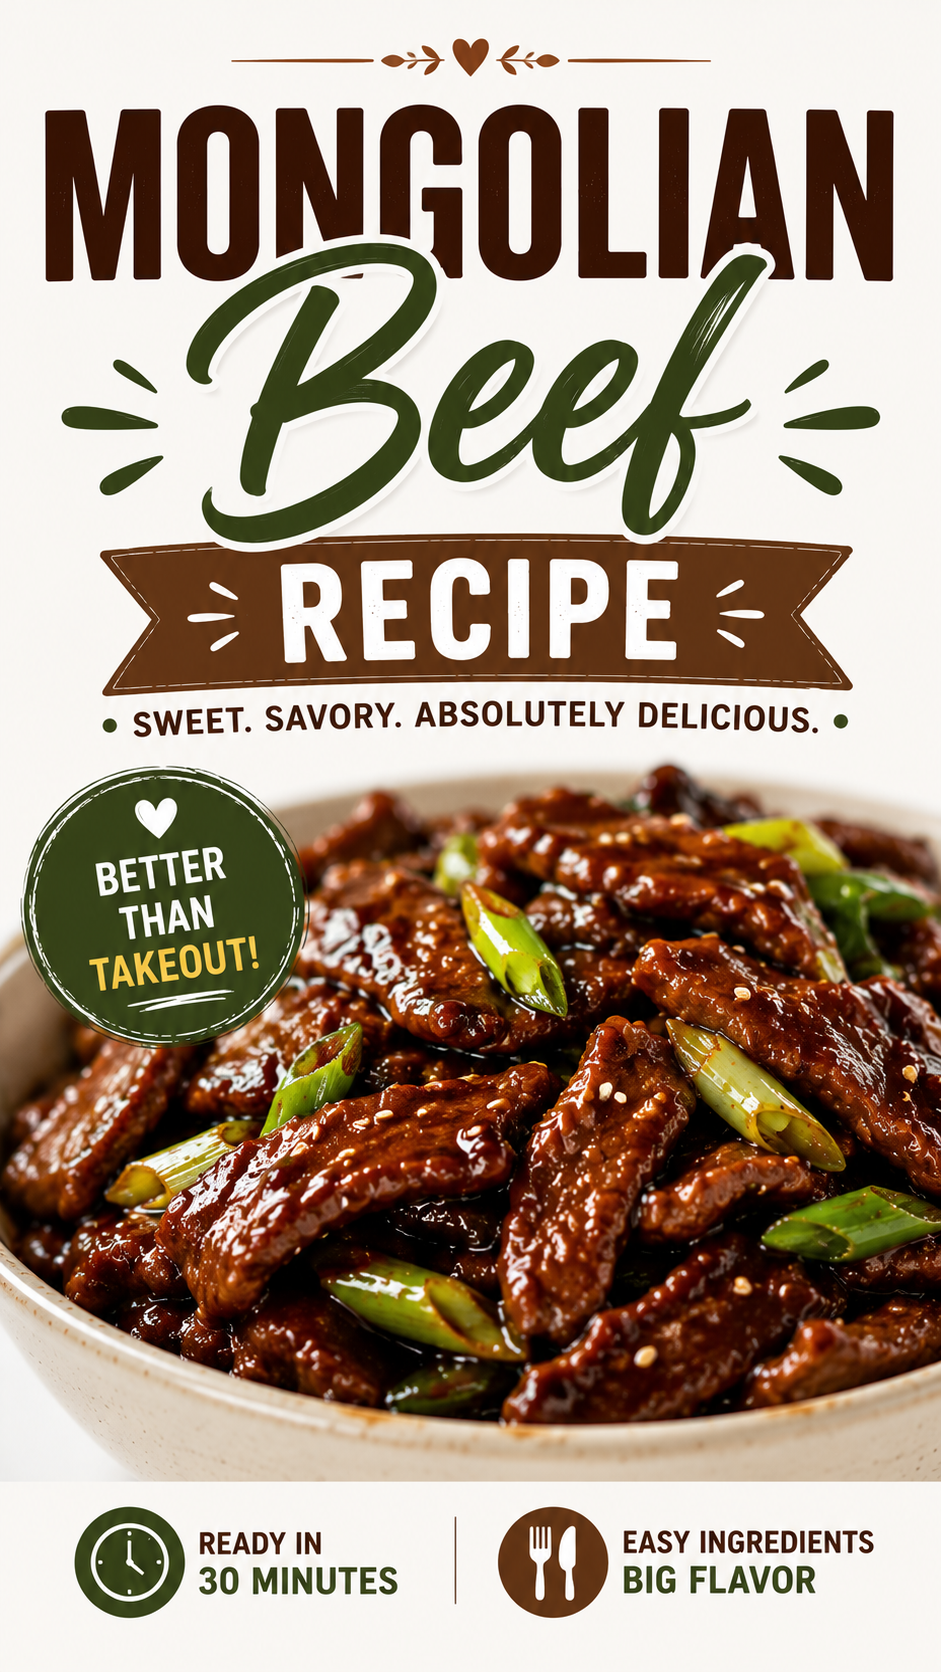
I’ve ordered this dish from more restaurants than I can count.
After making it at home a handful of times, I finally landed on a version that tastes just as good, maybe better, and comes together in less time than delivery would even take to arrive.
Tender sliced flank steak in a sweet, savory glaze. This is the real deal, restaurant style, made in your own kitchen.
Why This Recipe Works
Slicing the flank steak thin, against the grain, is what makes it tender enough to eat with chopsticks despite being a naturally tougher cut.
Coating the beef lightly in cornstarch before frying gives it that slightly crispy edge that soaks up the sauce beautifully instead of just sitting on top of it. 🥢
Cooking the sauce separately and tossing the beef in it at the very end keeps everything glossy and well coated, rather than watering down as it simmers together for too long.
What You’ll Need
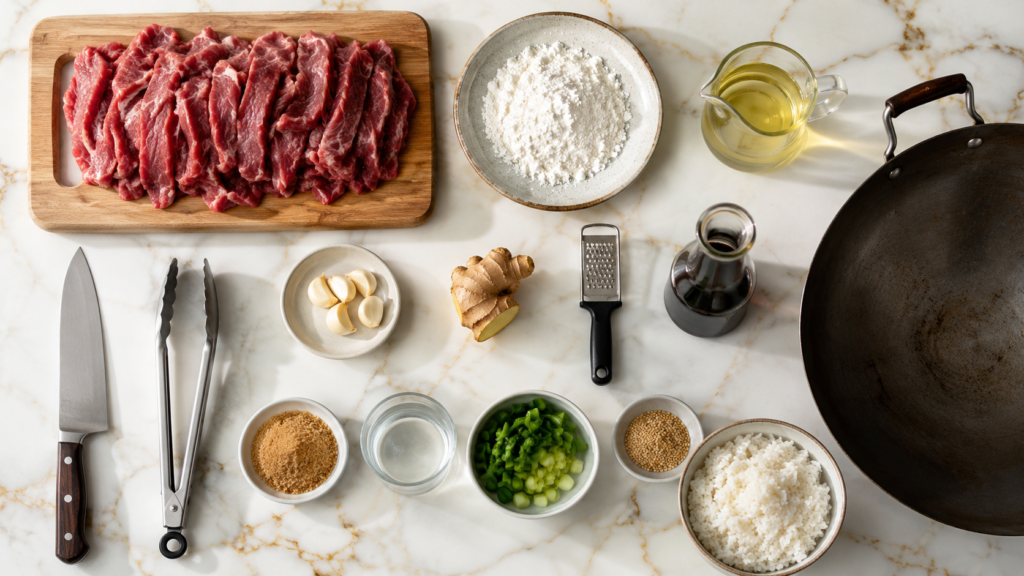
| Ingredient | Amount |
|---|---|
| Flank steak, thinly sliced against the grain | 1.5 lbs |
| Cornstarch | 1/2 cup |
| Vegetable oil | 1/3 cup, for frying |
| Garlic, minced | 4 cloves |
| Fresh ginger, grated | 1 tbsp |
| Soy sauce | 1/2 cup |
| Brown sugar | 1/2 cup |
| Water | 1/2 cup |
| Green onions, cut into 2-inch pieces | 6-8 |
| Sesame seeds | for topping |
| Cooked white rice | for serving |
Slicing the beef while it’s still slightly frozen makes getting those thin, even slices much easier.
Tools You’ll Need
- Large skillet or wok
- Sharp knife
- Shallow dish, for coating the beef
- Tongs
- Small saucepan (optional, for the sauce)
Pro Tips
1. Slice against the grain, not with it. This shortens the muscle fibers and is the single biggest factor in how tender your finished dish turns out.
2. Partially freeze the steak for about 30 minutes before slicing. Firmer meat is much easier to slice thin and evenly than fully thawed steak.
3. Shake off excess cornstarch before frying. A thick, clumpy coating can turn gummy instead of crispy once it hits the hot oil.
4. Fry in batches, without crowding the pan. Too much beef at once drops the oil temperature and leaves you with steamed, soggy pieces instead of crispy ones.
5. Toss the beef in the sauce right before serving, not too far ahead. This keeps that crispy edge intact for as long as possible.
Substitutions and Variations
- Different cut: Sirloin or skirt steak can be used in place of flank steak, following the same slicing technique.
- Gluten-free: Use tamari or a gluten-free soy sauce alternative.
- Spicier version: Add a pinch of red pepper flakes to the sauce, or a drizzle of chili oil at the end.
- Extra vegetables: Add sliced bell peppers or steamed broccoli alongside the beef for more color and texture.
- Air fryer version: Cook the cornstarch-coated beef in an air fryer at 400°F for about 8 minutes, shaking halfway through, then toss in the sauce as directed.
- Lower sugar: Reduce the brown sugar to 1/3 cup for a less sweet, more savory balance.
Make Ahead Tips
The sauce can be mixed and stored in the fridge for up to 3 days, ready to heat and toss with freshly cooked beef whenever you’re ready.
I’d recommend slicing and cooking the beef fresh each time, since the crispy texture is really at its best right after frying.
How to Make It
- Toss the sliced beef in the cornstarch until evenly coated, shaking off any excess.
- Heat the oil in a large skillet or wok over medium-high heat. Fry the beef in batches for 2 to 3 minutes per side, until crispy and golden. Transfer to a plate lined with paper towels.
- Carefully drain most of the oil from the pan, leaving about 1 tablespoon.
- Add the garlic and ginger, cooking for 30 seconds, until fragrant.
- Add the soy sauce, brown sugar, and water. Bring to a simmer, stirring occasionally.
- Simmer for 5 to 7 minutes, until the sauce has thickened slightly.
- Return the beef to the pan, tossing to coat evenly in the sauce.
- Add the green onions and toss for 1 more minute.
- Sprinkle with sesame seeds.
- Serve immediately over rice.
Nutrition and Diet Notes
Here’s roughly what you’re working with per serving (recipe serves 4, not including rice):
- Calories: about 420
- Protein: about 30g
- Sugar: about 24g
For a lower sugar version, reduce the brown sugar to 1/3 cup, tasting the sauce as it simmers to find the right balance.
What to Serve It With
- Steamed white or brown rice to soak up the sauce
- Steamed broccoli or snap peas
- A light cucumber salad for something cool and crisp
Leftovers and Storage
Store leftovers in an airtight container in the fridge for up to 3 days.
Reheat gently on the stovetop over medium heat, or in the microwave in 30-second bursts. The beef won’t stay quite as crispy as it was fresh, but the flavor holds up well.
This dish freezes reasonably well. Store in a freezer-safe container for up to 2 months, and thaw overnight in the fridge before reheating.
FAQ
Why is my beef tough instead of tender?
This usually means it wasn’t sliced against the grain, or the pieces were cut too thick. Thin, cross-grain slices make a big difference in texture.
Can I bake the beef instead of frying it?
Yes, though you’ll lose some of that crispy texture. Bake the cornstarch-coated beef at 425°F for about 12 minutes, flipping halfway through.
Is this dish very sweet?
It has a noticeable sweetness from the brown sugar, similar to the classic restaurant version. You can reduce it slightly if you prefer a more savory balance.
Can I use pre-sliced stir-fry beef from the store?
Yes, just make sure the pieces are thin and relatively uniform for even cooking.
Can I double this recipe?
Yes, just fry the beef in extra batches to avoid crowding the pan and keep that crispy texture intact.
Wrapping Up
This recipe earned its spot as my go-to whenever a Mongolian beef craving hits, and it’s saved me more delivery fees than I can count.
It takes a little extra effort compared to a one-pan dump dinner, but the crispy texture and glossy sauce make it worth every step.
If you make this, come back and tell me if you added extra vegetables, or how spicy you went. 🌶️
I’d love to hear how yours turned out.