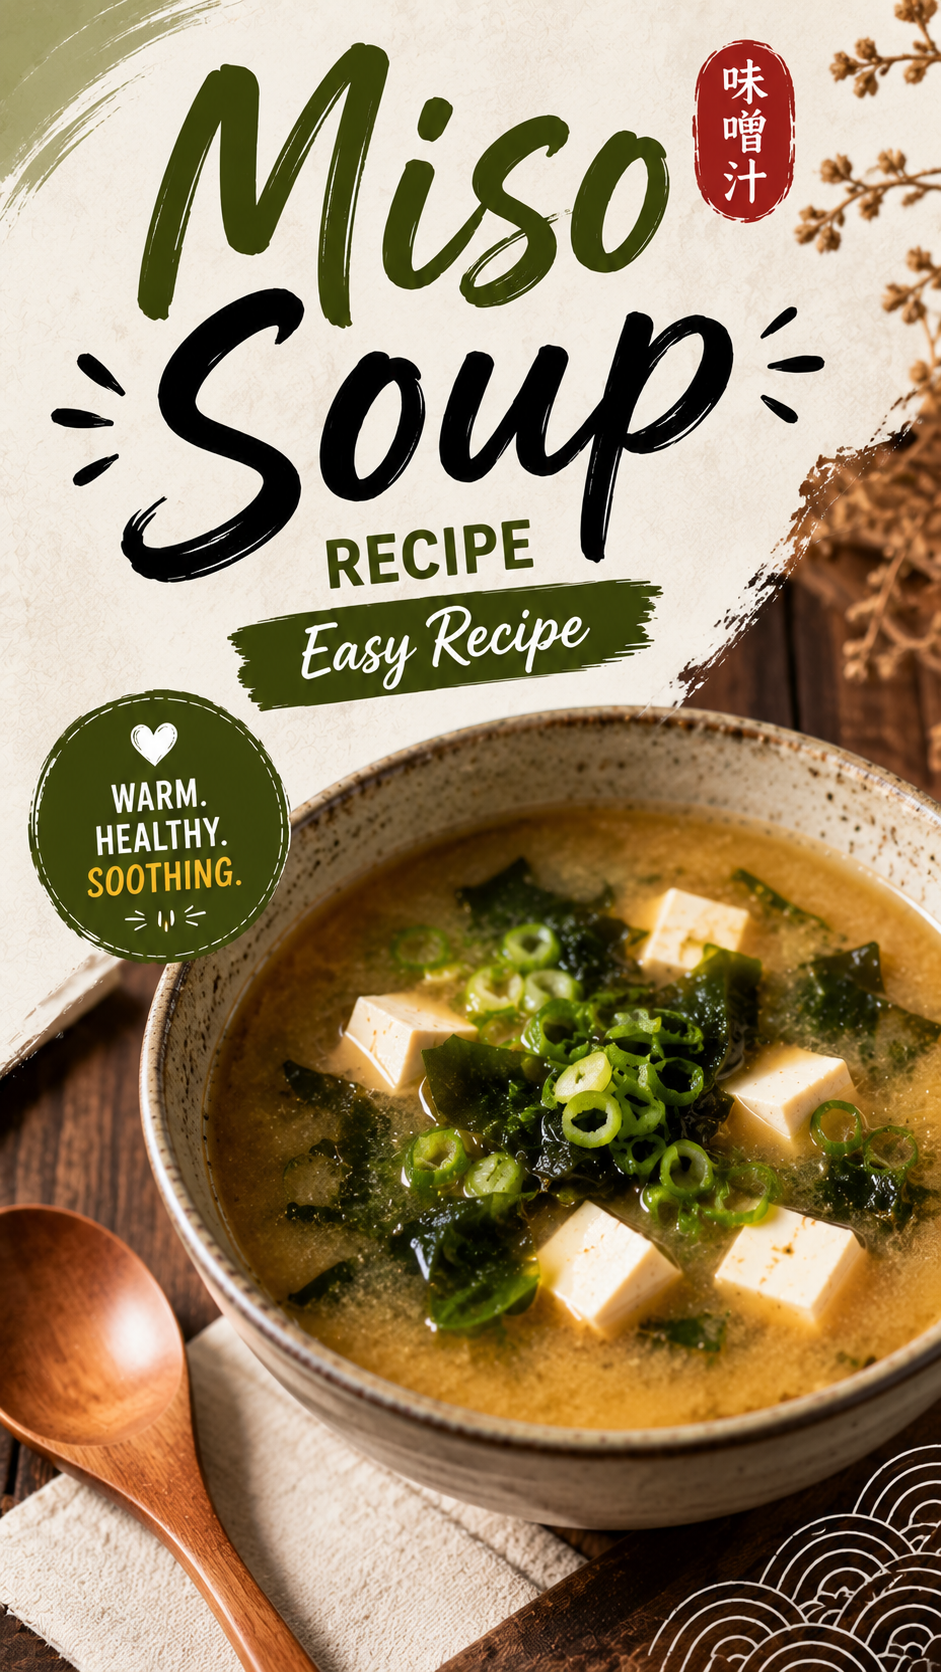
I used to think miso soup was one of those things you only got at restaurants.
Then I found out it takes about 10 minutes to make at home, and I felt slightly betrayed by every hibachi menu I’ve ever paid for.
This version is simple, warm, and endlessly customizable. Once you have the basics down, you’ll never look at the instant packets the same way again.
Why This Recipe Works
The whole soup comes down to one rule: never let the miso boil.
Boiling kills the beneficial bacteria in miso and can make the flavor turn bitter and flat. This recipe whisks the miso in at the very end, off direct heat, so you keep all that deep, savory flavor intact. 🍲
Dashi, the traditional Japanese broth base, is what gives miso soup its signature umami flavor. It sounds fancy, but it’s really just two or three ingredients simmered in water.
What You’ll Need
| Ingredient | Amount |
|---|---|
| Water | 4 cups |
| Kombu (dried kelp) | 1 piece (about 4 inches) |
| Bonito flakes | 1/2 cup |
| White or yellow miso paste | 3 tbsp |
| Soft or silken tofu, cubed | 1/2 cup |
| Green onions, thinly sliced | 2 |
| Dried wakame seaweed | 1 tbsp |
You can find kombu, bonito flakes, and miso paste at most Asian grocery stores, and many regular grocery stores now carry them too.
Tools You’ll Need
- Medium pot
- Fine mesh strainer
- Small bowl
- Whisk or fork
- Ladle
Pro Tips
1. Don’t rinse the kombu before using it. That white powdery coating is packed with flavor, not dirt. A quick wipe with a damp cloth is all it needs.
2. Remove the kombu right before the water boils. Leaving it in during a full boil can make the broth taste slightly bitter and slimy.
3. Dissolve the miso in a small bowl of warm broth first. Adding the paste straight into the pot often leaves clumps floating around instead of blending in smoothly.
4. Rehydrate your wakame separately. Soak it in a small bowl of water for about 5 minutes before adding it, so it doesn’t throw off the timing of your broth.
5. Taste before adding more miso. Miso brands vary a lot in saltiness, so start with less and build up rather than dumping it all in at once.
Substitutions and Variations
- No kombu or bonito on hand: Use store-bought dashi powder dissolved in water, or even a mild vegetable or chicken broth in a pinch.
- Vegetarian or vegan: Skip the bonito flakes entirely and use kombu-only dashi, sometimes called kombu dashi.
- Add protein: Stir in shredded cooked chicken or a soft-boiled egg for a heartier bowl.
- Extra vegetables: Add sliced mushrooms, spinach, or thinly sliced daikon radish.
- Spicy version: Stir in a small spoonful of chili oil or a pinch of shichimi togarashi at the end.
- Different miso: Red miso gives a bolder, saltier flavor if you want something more intense than the classic white miso version.
Make Ahead Tips
The dashi broth can be made up to 3 days ahead and stored in the fridge, or frozen for up to a month.
I wouldn’t recommend adding the miso paste until you’re ready to serve, since the flavor is best fresh and the broth can lose some of its brightness the longer it sits with miso already stirred in.
How to Make It
- Add the water and kombu to a pot. Let it soak for at least 10 minutes, or up to a few hours if you have time.
- Heat the pot over medium heat. Just before the water starts to boil, remove the kombu and set it aside.
- Bring the water to a gentle boil, then add the bonito flakes. Simmer for 1 minute, then turn off the heat.
- Let the bonito flakes settle for 5 minutes, then strain the broth through a fine mesh strainer into a clean pot, discarding the flakes.
- Return the strained dashi to low heat.
- In a small bowl, whisk a few tablespoons of the warm dashi with the miso paste until smooth.
- Add the tofu and rehydrated wakame to the pot.
- Turn off the heat, then stir the dissolved miso mixture into the pot.
- Taste and add more dissolved miso if you’d like it stronger.
- Ladle into bowls and top with sliced green onions.
Nutrition and Diet Notes
Here’s roughly what you’re working with per serving (recipe serves 4):
- Calories: about 45
- Protein: about 4g
- Sodium: about 480mg
For a lower sodium version, reduce the miso slightly and add a touch more water, tasting as you go.
What to Serve It With
- Steamed rice and a simple protein for a full Japanese-style meal
- Sushi or sashimi as a starter course
- A light stir-fry alongside it for a heartier dinner
Leftovers and Storage
Miso soup is best enjoyed fresh, ideally the same day it’s made.
If you do have leftovers, store them in an airtight container in the fridge for up to 2 days. Reheat gently over low heat and avoid letting it boil, just like the first time around.
I don’t recommend freezing miso soup, since the tofu texture changes significantly once thawed.
FAQ
Can I use miso paste straight from the fridge?
Yes, just make sure to dissolve it in warm broth first so it doesn’t clump.
What’s the difference between white and red miso?
White miso is milder and slightly sweet, while red miso is fermented longer and has a bolder, saltier flavor. White is the more common choice for everyday miso soup.
Can I make this without bonito flakes?
Yes, kombu-only dashi works well and keeps the recipe fully vegetarian.
Why did my miso soup turn out bitter?
This usually happens if the kombu was boiled too long, or the miso itself was boiled after being added. Keep both in mind and you’ll avoid it next time.
Can I use firm tofu instead of soft?
Yes, though soft or silken tofu gives that classic delicate texture most people expect from miso soup.
Wrapping Up
Once you make this soup at home, it’s hard to go back to paying restaurant prices for something this simple.
It’s quick, comforting, and endlessly adjustable depending on what you’re in the mood for that day.
If you make this, come back and tell me which miso you used, or what you added in. Mushrooms? An egg? Extra tofu? 🥢
I’d love to hear how yours turned out.