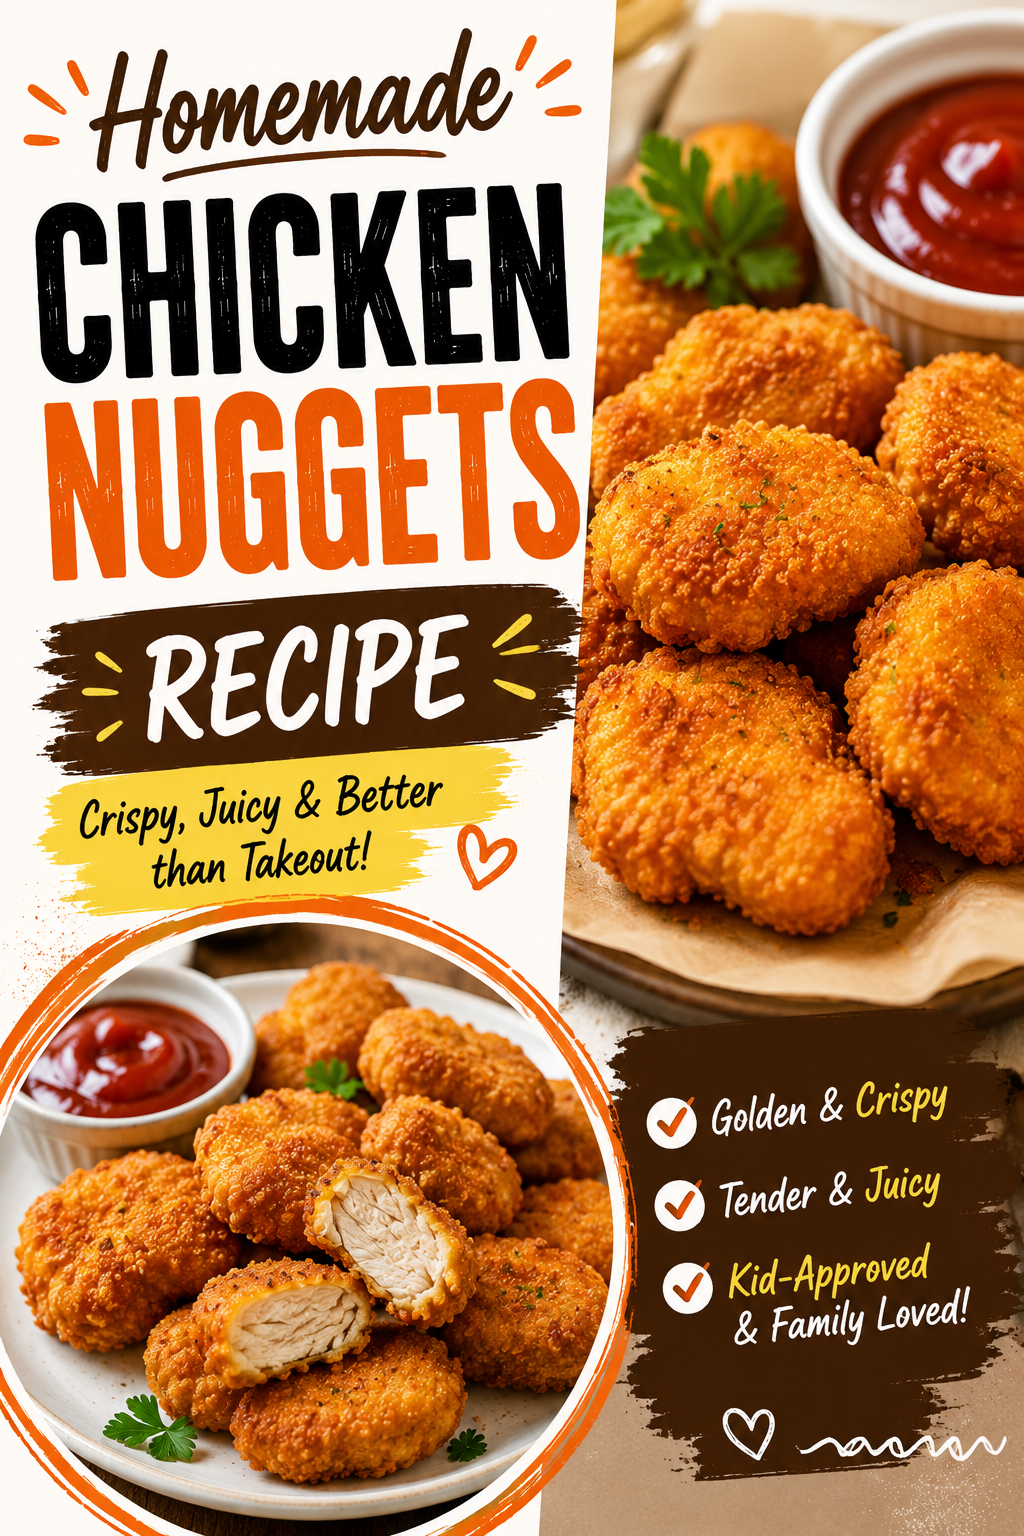
I used to think chicken nuggets were just a kid thing until I made these from scratch and ate half the batch standing over the stove.
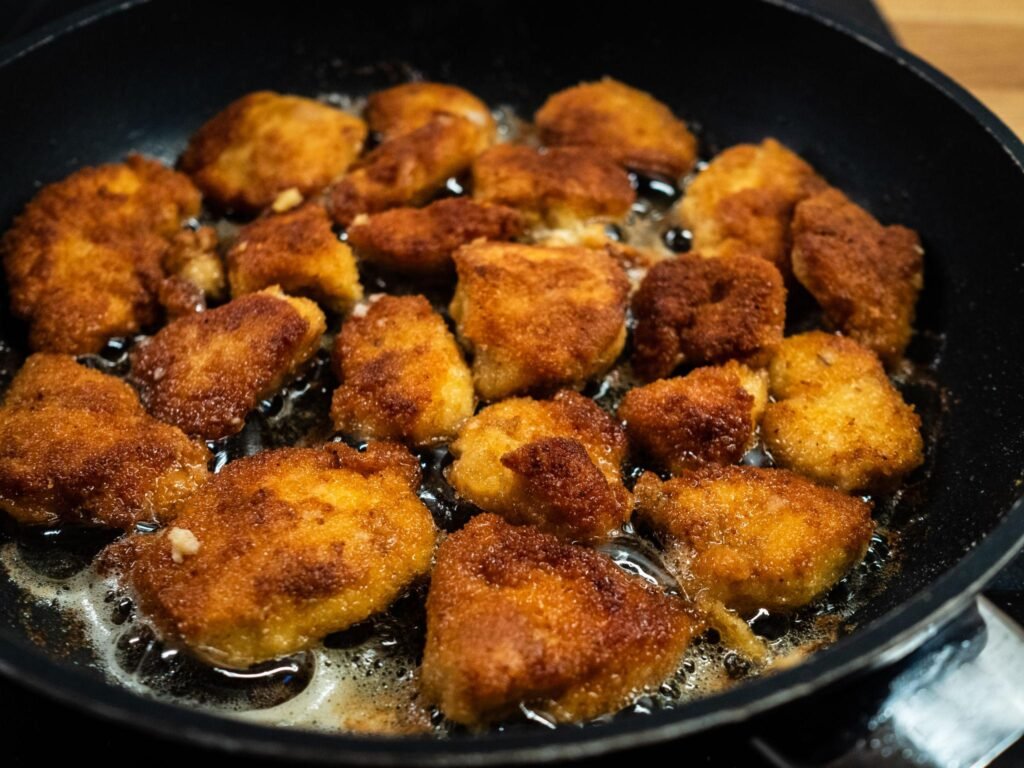
Homemade chicken nuggets are bite-sized pieces of chicken breast, coated in a seasoned crispy breading, then fried or baked until golden. No mystery meat, no drive-thru line, and honestly, way better flavor than anything from a box.
I started making these after realizing how few actual ingredients go into a proper batch. Chicken, breading, seasoning. That’s really it.
Once you try the homemade version, the frozen bag in the freezer starts feeling like a downgrade.
What You’ll Need
| Ingredient | Amount |
|---|---|
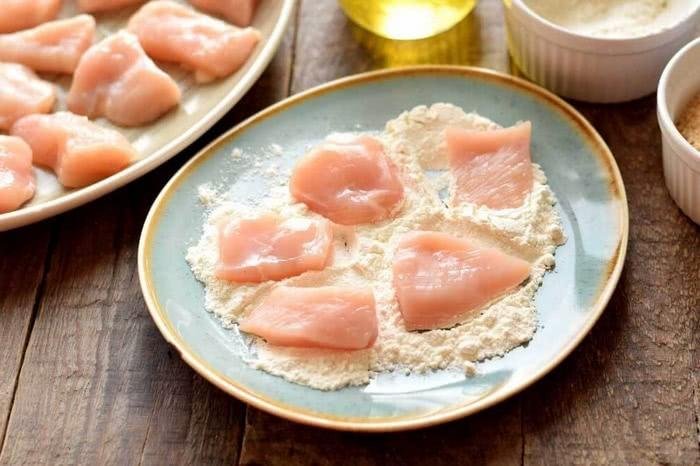
| Boneless, skinless chicken breast, cut into bite-sized pieces | 1 ½ lbs |
| All-purpose flour | ¾ cup |
| Eggs | 2 large |
| Panko breadcrumbs | 1 ½ cups |
| Garlic powder | 1 tsp |
| Onion powder | 1 tsp |
| Paprika | 1 tsp |
| Salt | 1 tsp |
| Black pepper | ½ tsp |
| Vegetable oil (for frying) | Enough for 1 inch in the pan |
Pro Tips
- Cut the chicken pieces roughly the same size. Uneven pieces cook at different rates, so you end up with some overdone and some underdone.
- Season every layer, not just the breadcrumbs. Add a pinch of salt to the flour and the egg wash too. It builds flavor all the way through instead of just on the surface.
- Press the breadcrumbs on firmly. A light dusting falls off during frying. Press each piece into the panko so it really sticks.
- Don’t crowd the pan. Fry in batches so the oil temperature stays steady. Overcrowding drops the temperature and leads to soggy, greasy nuggets.
- Let them rest on a wire rack after frying, not paper towels. Paper towels trap steam underneath and soften the crispy coating.
Tools You’ll Need
- Cutting board and knife
- Three shallow bowls for the breading station
- Large skillet or deep pot
- Tongs
- Wire cooling rack
- Meat thermometer (optional but helpful)
Substitutions and Variations
| Original | Swap | Notes |
|---|---|---|
| Chicken breast | Chicken thighs | Slightly more tender, a bit more fat |
| Panko breadcrumbs | Regular breadcrumbs | Less crunchy, but still works |
| Frying | Baking at 425°F for 18 to 20 minutes | Lighter, less mess |
| Frying | Air frying at 400°F for 10 to 12 minutes | Crispy with much less oil |
| Plain seasoning | Add ¼ tsp cayenne | Adds a little heat to the breading |
Make Ahead Tips
- Bread the nuggets ahead of time and store them uncooked in the fridge for up to a day, covered.
- Freeze breaded, uncooked nuggets in a single layer, then transfer to a bag. Cook straight from frozen, adding a few extra minutes.
- Cooked nuggets reheat well, so this recipe works great for weekly meal prep too.
Extra Details Worth Knowing
Nutrition, roughly speaking: each nugget comes in around 45 to 60 calories depending on size and cooking method, with baking and air frying coming in lighter than deep frying.
Time efficiency tip: set up your breading station assembly-line style, flour then egg then panko, so you’re not reaching across the kitchen mid-batch.
Pairing idea: these go well with a simple side salad or steamed vegetables if you want to balance out the meal a bit.
How to Make Homemade Chicken Nuggets
- Cut the chicken breast into bite-sized pieces, roughly 1 to 1.5 inches each.
- Set up three shallow bowls: one with flour mixed with half the garlic powder, onion powder, paprika, salt, and pepper. One with the beaten eggs. One with panko mixed with the remaining seasoning.
- Heat about 1 inch of oil in a large skillet over medium heat until it reaches around 350°F.
- Coat each chicken piece in the flour, shaking off the excess.
- Dip into the egg, letting any extra drip off.
- Press into the panko mixture, coating fully on all sides.
- Fry the nuggets in batches, without overcrowding the pan, for 3 to 4 minutes per side until golden brown and cooked through.
- Transfer to a wire rack to drain and stay crispy.
- Check that the internal temperature reaches 165°F before serving.
Leftovers and Storage
- Fridge: store in an airtight container for up to 3 days.
- Freezer: freeze cooked nuggets in a single layer, then transfer to a bag, for up to 2 months.
- Reheating: an oven or air fryer at 375°F for about 8 minutes brings back the crisp texture far better than a microwave.
FAQ
Can I bake these instead of frying? Yes, bake at 425°F for 18 to 20 minutes, flipping halfway through for even browning.
Why is my breading falling off during frying? This usually means the coating wasn’t pressed on firmly enough, or the oil wasn’t hot enough when the nuggets went in.
Can I make these gluten-free? Yes, swap the flour and panko for gluten-free versions of each. The texture stays very close to the original.
How do I know the chicken is fully cooked? The internal temperature should read 165°F on a meat thermometer. If you don’t have one, cut into the largest piece to check that it’s no longer pink inside.
Can I make a big batch and freeze half? Yes, this recipe freezes well both before and after cooking, which makes it great for doubling.
Wrapping Up
Once you taste the difference between homemade and frozen, there’s really no going back.
Give this recipe a try this week and let me know in the comments whether you fried, baked, or air fried your batch. I’d love to hear which method became your favorite.