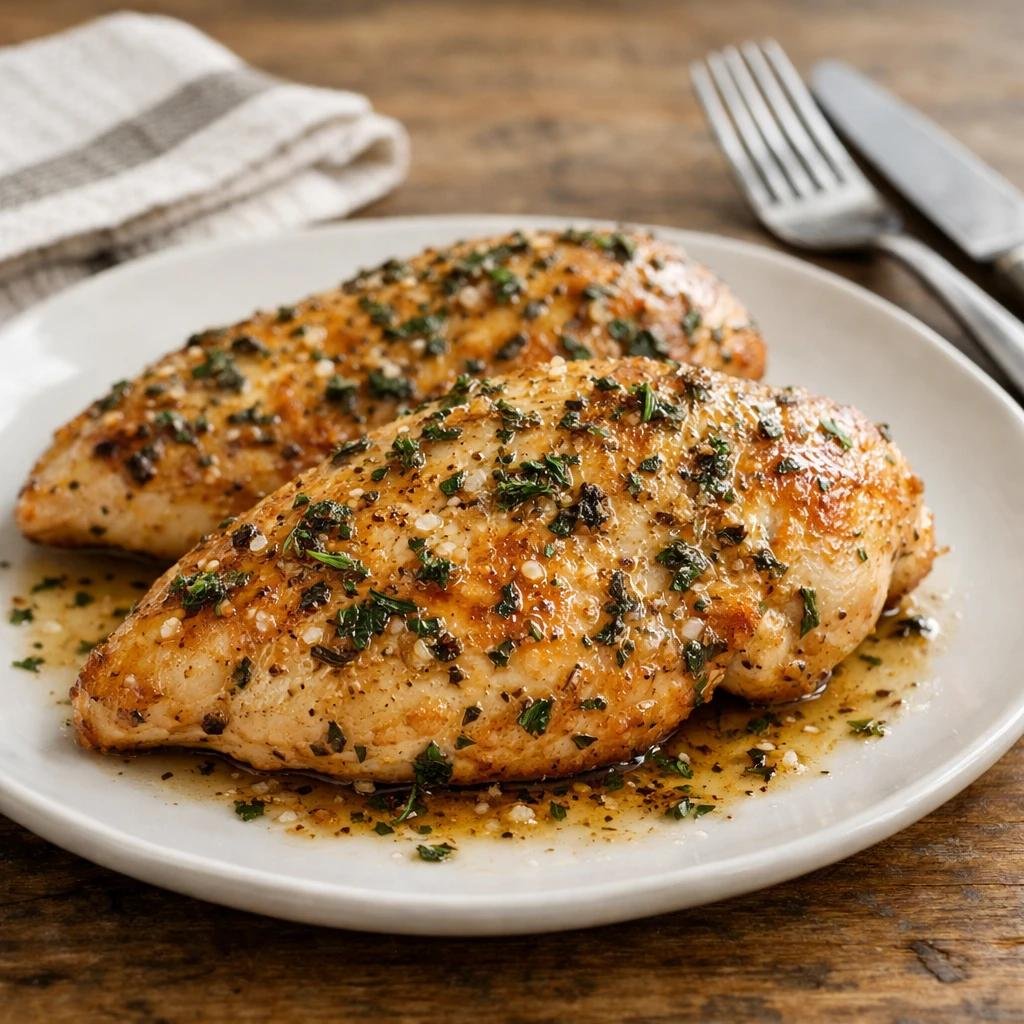
I overcooked chicken breast so many times before I finally figured out what I was doing wrong. 🍗
Turns out it wasn’t the recipe, it was the technique. Once I fixed that, chicken breast went from something I dreaded cooking to one of my go to weeknight proteins.
This method gives you a juicy, well seasoned chicken breast every single time, no guessing involved.
Once you get this down, you’ll have a base recipe you can build almost any meal around.
Why This Recipe Works
Pounding the chicken to an even thickness means every part cooks at the same rate, so you’re not left with a dry thin end and an undercooked thick end.
A simple dry brine with salt draws moisture into the meat instead of pulling it out, which keeps the chicken juicy.
And searing first, then finishing in the oven, gives you a golden crust on the outside while the inside cooks through gently.
What You’ll Need
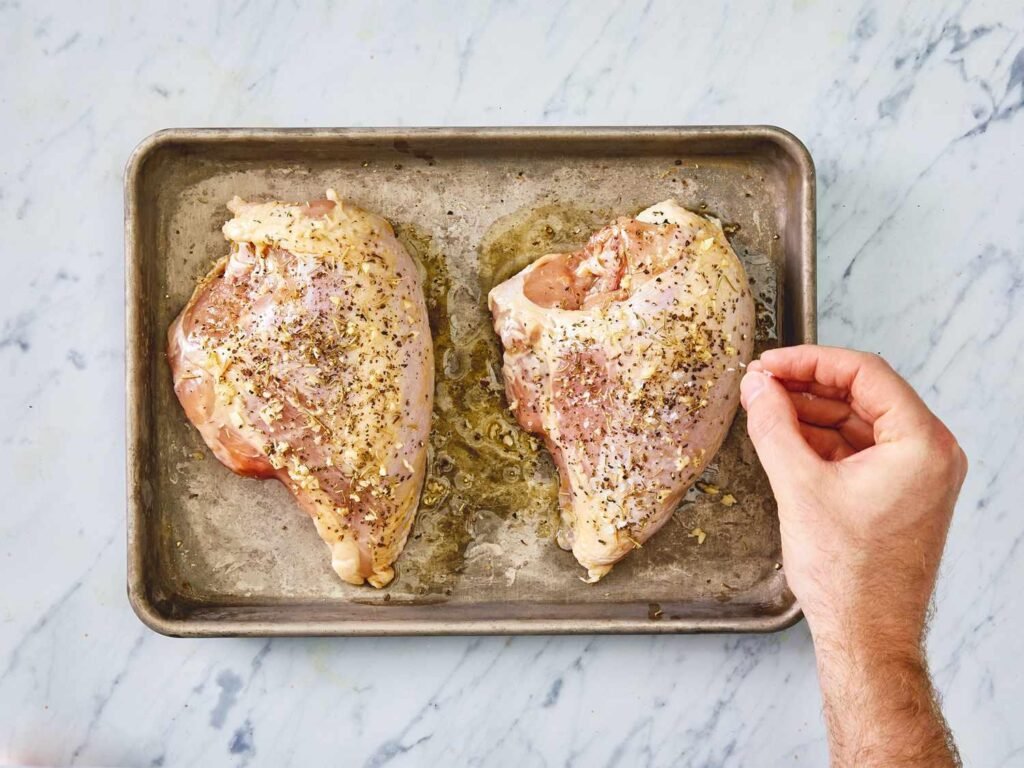
| Ingredient | Amount |
|---|---|
| Boneless, skinless chicken breasts | 4 medium |
| Salt | 1 tsp, plus more to taste |
| Black pepper | 1/2 tsp |
| Garlic powder | 1 tsp |
| Paprika | 1/2 tsp |
| Olive oil | 2 tbsp |
| Butter | 2 tbsp |
A short, simple list that works as a base you can season however you like.
Tools You’ll Need
- Meat mallet or rolling pin
- Oven safe skillet
- Tongs
- Meat thermometer
- Cutting board
Pro Tips
Things that genuinely make the difference between dry and juicy chicken breast.
- Pound the chicken to an even thickness, about 3/4 inch. This single step solves most overcooking issues.
- Salt the chicken at least 20 minutes before cooking, longer if you can. This acts as a quick dry brine and really improves juiciness.
- Use a meat thermometer instead of guessing by time. Pull the chicken at 160°F, since it will continue cooking as it rests.
- Let the chicken rest for 5 minutes after cooking. Cutting into it too soon lets all the juice run out onto the cutting board.
- Don’t skip the sear. That golden crust adds a lot of flavor that plain baked chicken breast doesn’t get.
Substitutions and Variations
| Original | Swap | Notes |
|---|---|---|
| Garlic powder and paprika | Italian seasoning | Gives a completely different flavor direction |
| Olive oil | Avocado oil | Higher smoke point for searing |
| Oven finishing | Fully stovetop | Works for thinner cutlets, watch closely so it doesn’t dry out |
| Regular seasoning | Lemon pepper | Bright, simple flavor variation |
| Butter | Skip it | Still works, just slightly less rich flavor |
Want a sauce to go with it? Deglaze the pan with a splash of chicken broth and lemon juice after removing the chicken.
Make Ahead Tips
You can pound and season the chicken up to a day ahead, storing it covered in the fridge until ready to cook.
Cooked chicken breast keeps well and reheats nicely, making this a great base for meal prep throughout the week.
Sliced or diced cooked chicken also freezes well for up to 3 months.
How to Make Chicken Breast
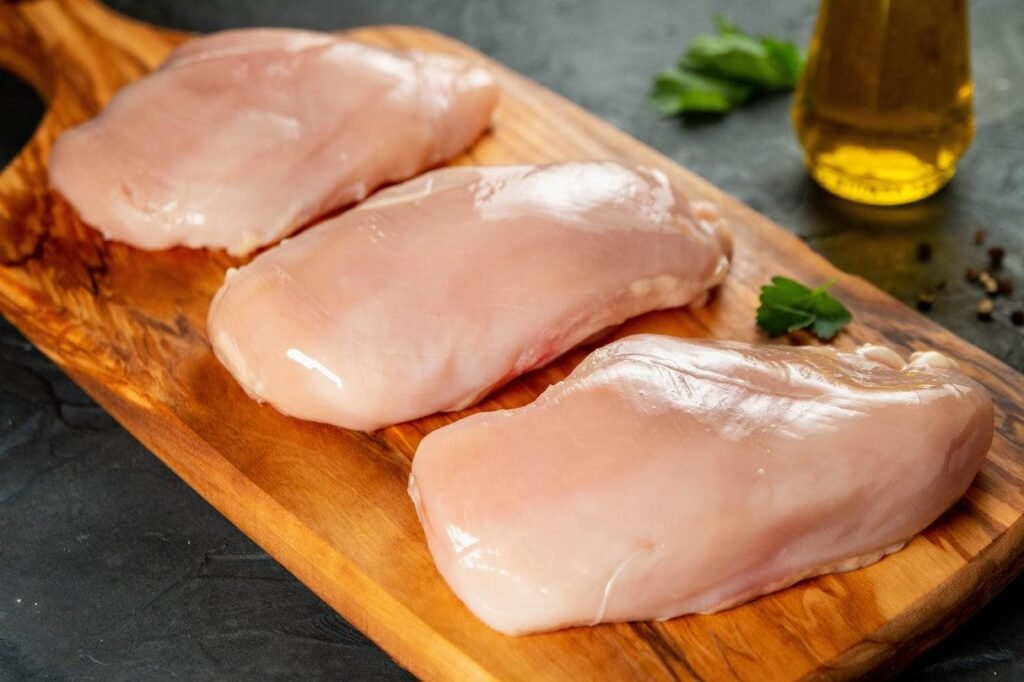
- Pound the chicken breasts to an even thickness, about 3/4 inch.
- Season generously with salt and let sit at room temperature for at least 20 minutes.
- Preheat your oven to 400°F.
- Pat the chicken dry, then season with pepper, garlic powder, and paprika.
- Heat olive oil in an oven safe skillet over medium high heat.
- Sear the chicken for 2-3 minutes per side, until golden brown.
- Add the butter to the pan, then transfer the skillet to the oven.
- Bake for 8-10 minutes, until the internal temperature reaches 160°F.
- Remove from the oven and let rest for 5 minutes before slicing.
That rest at the end is what keeps every slice juicy.
Extra Details
A single chicken breast, cooked this way, comes in around 230 calories, depending on the size of the breast.
This works as a base for salads, grain bowls, sandwiches, or simply served alongside vegetables and rice.
To save time during the week, cook a large batch on Sunday and use it across several meals.
Leftovers and Storage
Store cooked chicken breast in an airtight container in the fridge for up to 4 days.
Reheat gently in a skillet with a splash of broth, or slice cold and add straight to salads and sandwiches.
This chicken also freezes well, either whole or sliced, for up to 3 months.
FAQ
Why does my chicken breast always turn out dry? Usually it’s overcooking past the right internal temperature, or uneven thickness causing parts to cook faster than others.
What temperature should chicken breast be cooked to? Pull it from heat at 160°F, since it will continue rising to the safe temperature of 165°F as it rests.
Can I skip pounding the chicken? You can, but it’s the step that most reliably prevents dry, unevenly cooked chicken.
Can I make this on the stovetop only, without the oven? Yes, for thinner pieces, just lower the heat once seared and cook through gently, watching closely.
How long does cooked chicken breast last in the fridge? It keeps well for up to 4 days when stored properly in an airtight container.
Wrapping Up
This chicken breast method is the kind of recipe worth keeping in your back pocket, since it works for so many different meals.
Once you get the pounding, salting, and temperature checking down, you’ll never end up with dry, rubbery chicken breast again.
Give this one a try this week and let me know in the comments what you served it with. I always love hearing how people build meals around it.