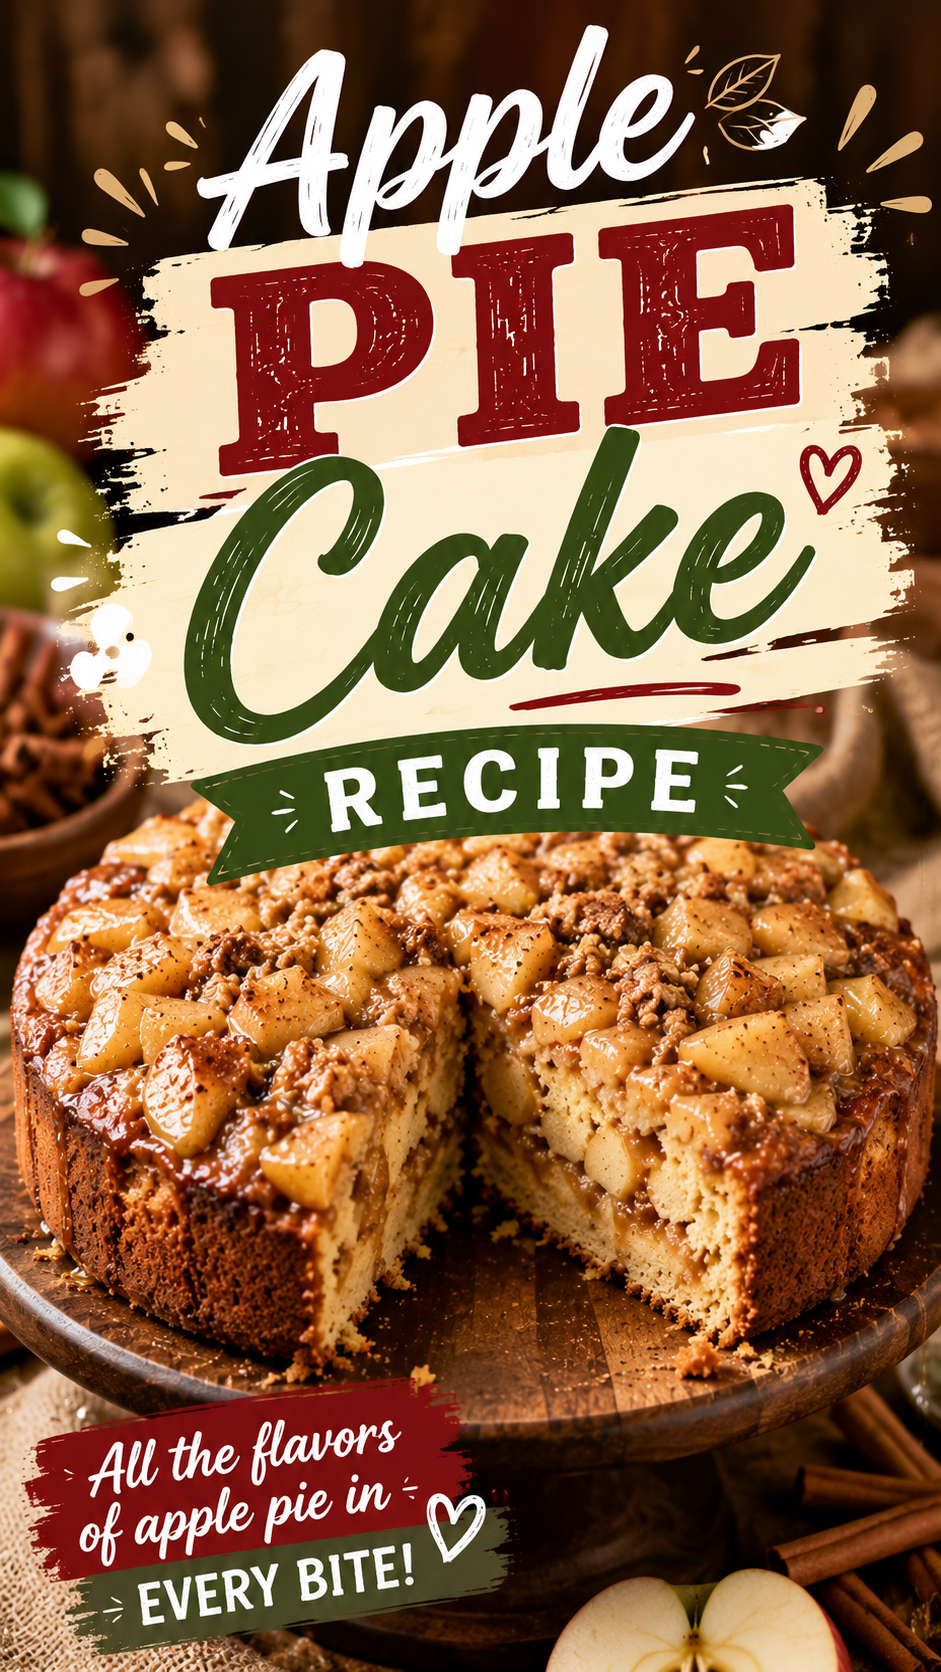
This dessert takes everything good about apple pie, the warm spiced apples, the tender crumb, the cozy cinnamon smell filling the kitchen, and turns it into an easy cake instead of a fussy pastry crust. No rolling dough, no crimping edges, just a simple batter layered with cinnamon apples and baked until golden.
It’s the kind of dessert that feels like fall in every bite, but easy enough to make any time the craving hits.
What You’ll Need
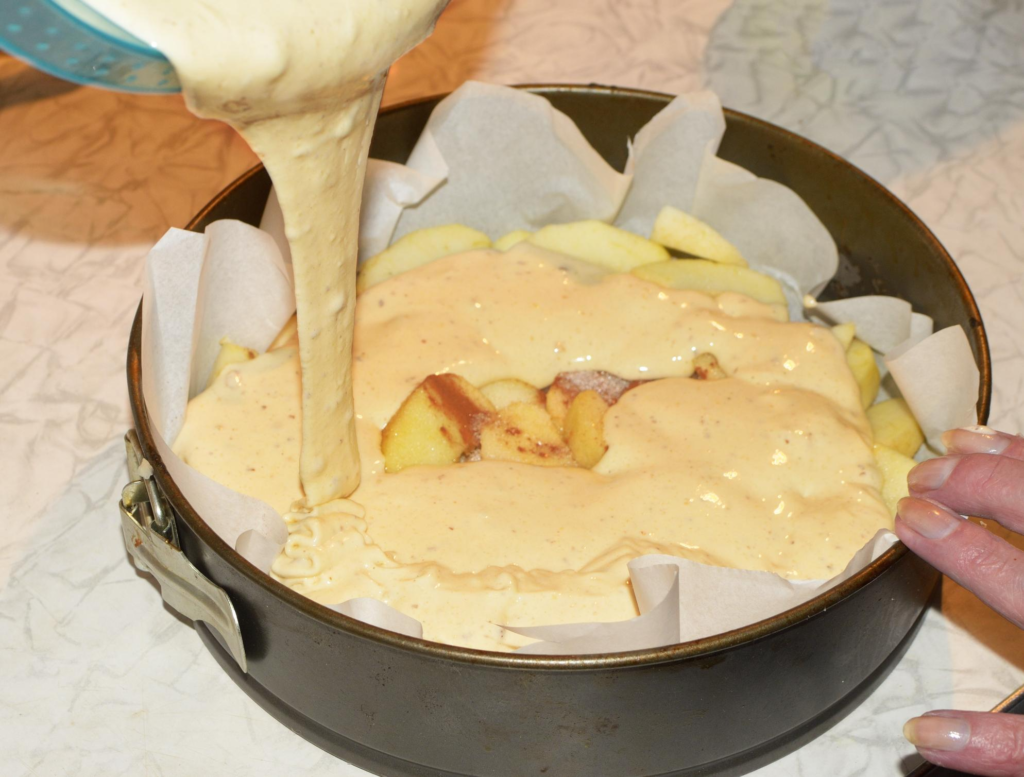
For the apple layer:
- 3 medium apples, peeled and thinly sliced
- 2 tablespoons brown sugar
- 1 teaspoon ground cinnamon
- 1 tablespoon lemon juice
For the cake:
- 2 cups all-purpose flour
- 1 ½ teaspoons baking powder
- 1/2 teaspoon salt
- 1/2 teaspoon ground cinnamon
- 3/4 cup unsalted butter, softened
- 1 cup granulated sugar
- 2 large eggs
- 1 teaspoon vanilla extract
- 3/4 cup milk
For the topping:
- 1/4 cup brown sugar
- 1/2 teaspoon ground cinnamon
- 2 tablespoons melted butter
Ingredient Notes
Apples: A firmer, slightly tart apple like Granny Smith or Honeycrisp holds its shape best during baking, rather than turning to mush.
Butter: Make sure it’s fully softened for the cake batter. Cold butter won’t cream properly with the sugar, which affects the final texture.
Milk: Whole milk gives the richest result, though 2% works fine as well.
Tools You’ll Need
- 9×13 inch baking pan
- Two mixing bowls
- Hand or stand mixer
- Cutting board
- Sharp knife or apple peeler
- Measuring cups and spoons
- Rubber spatula
Why This Recipe Works
Tossing the apple slices with lemon juice before layering them keeps them from browning and adds a light brightness that balances the sweetness of the cake and topping.
Creaming the butter and sugar together thoroughly before adding the eggs incorporates air into the batter, which is part of what gives the finished cake a light, tender crumb instead of a dense one.
The cinnamon sugar topping, brushed with melted butter before baking, forms a slightly crisp, caramelized layer on top that mimics the texture of a pie crust without any of the extra work.
Pro Tips
- Slice the apples thin and even. This helps them cook through fully in the same time as the cake bakes.
- Cream the butter and sugar well. A full 2 to 3 minutes of mixing builds the light texture this cake depends on.
- Don’t overmix once the flour is added. Overmixing develops gluten and can make the cake dense instead of tender.
- Layer the apples evenly. This ensures every slice of cake gets a good amount of apple in each bite.
- Check doneness with a toothpick in the cake portion, not the apples. Insert it into an area without apple slices for an accurate read.
Substitutions
| Original Ingredient | Substitute | Flavor Impact |
|---|---|---|
| Granny Smith apples | Honeycrisp or Braeburn | Slightly sweeter, less tart |
| Granulated sugar | Coconut sugar | Slightly caramel-like flavor |
| Whole milk | Buttermilk | Tangier, slightly denser crumb |
| All-purpose flour | Half all-purpose, half whole wheat | Nuttier flavor, denser texture |
| Butter | Neutral oil | Moister, slightly less rich flavor |
Variations
- Caramel apple pie cake: Drizzle warm caramel sauce over the finished cake before serving.
- Nutty apple pie cake: Add 1/2 cup chopped pecans or walnuts to the cinnamon sugar topping.
- Cream cheese swirl version: Swirl a sweetened cream cheese mixture into the batter before adding the apple layer.
- Spiced apple pie cake: Add a pinch of nutmeg and ground cloves to the apple layer for extra warmth.
- Individual servings: Bake in a muffin tin instead of a 9×13 pan, adjusting the bake time down to about 20 minutes.
Make Ahead Tips
The apples can be sliced and tossed with lemon juice, sugar, and cinnamon up to a day ahead and stored in the refrigerator. The cake batter is best made fresh right before baking for the lightest texture.
Step by Step Instructions
1. Preheat and prep. Preheat the oven to 350°F. Grease a 9×13 inch baking pan.
2. Prepare the apples. Toss the sliced apples with brown sugar, cinnamon, and lemon juice. Set aside.
3. Mix the dry ingredients. In a bowl, whisk together the flour, baking powder, salt, and cinnamon.
4. Cream the butter and sugar. In a separate bowl, beat the butter and granulated sugar until light and fluffy, about 2 to 3 minutes. Add the eggs one at a time, then mix in the vanilla.
5. Combine the batter. Alternate adding the dry ingredients and milk to the butter mixture, mixing just until combined.
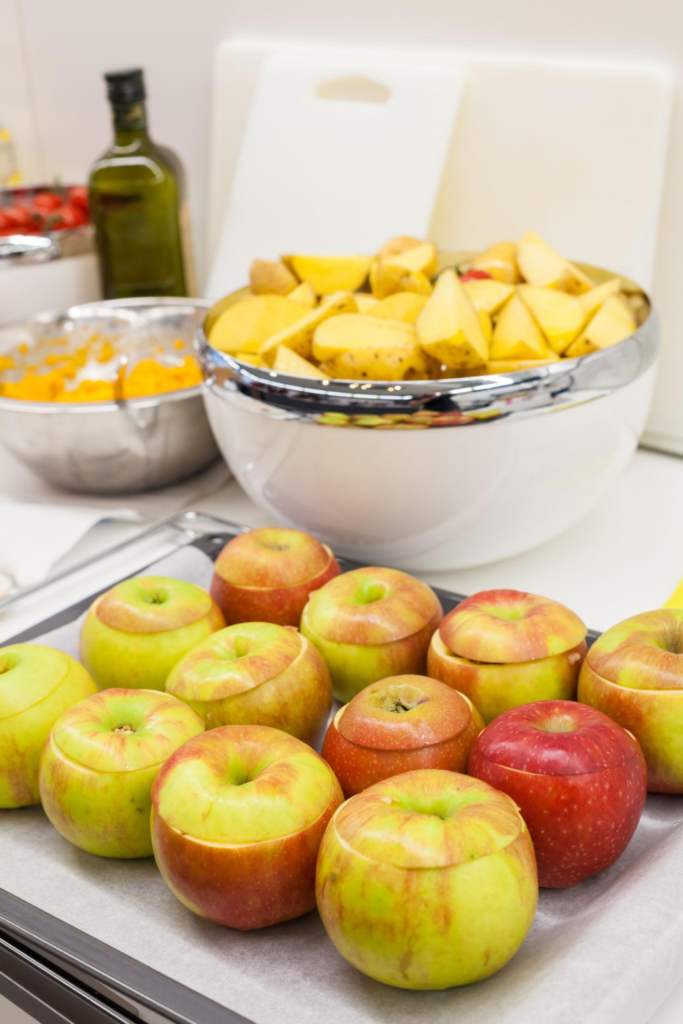
6. Layer and top. Spread about two-thirds of the batter into the prepared pan. Layer the apples evenly over the top, then dollop the remaining batter over the apples. Mix the topping ingredients together and sprinkle over the top.
7. Bake. Bake for 40 to 45 minutes, until a toothpick inserted into the cake portion comes out clean.
8. Cool and serve. Let cool for at least 15 minutes before slicing and serving.
Common Mistakes
Mistake: Cake turns out dense. This usually comes from overmixing the batter once the flour is added, or from butter that wasn’t fully softened.
Mistake: Apples sink to the bottom. This can happen if the apple slices are cut too thick or the batter is too thin. Keep slices thin and even.
Mistake: Top burns before the center is done. If this happens, loosely tent the pan with foil for the last 10 to 15 minutes of baking.
Serving Suggestions
This cake is a full dessert on its own, though a few additions make it even more special.
Pairings:
- A scoop of vanilla ice cream
- Warm caramel drizzle
- A dollop of whipped cream
Drinks:
- Hot coffee or spiced chai
- Warm apple cider
- A glass of cold milk
Storage
Store covered at room temperature for up to 2 days, or in the refrigerator for up to 5 days.
Freezing
This cake freezes well. Wrap tightly and freeze for up to 3 months. Thaw at room temperature before serving.
Reheating
Warm individual slices in the microwave for 15 to 20 seconds, or in a low oven for a few minutes, if you prefer it served warm.
Nutrition (Estimated, Per Serving)
Based on 12 servings:
- Calories: 290
- Protein: 3g
- Carbohydrates: 42g
- Fat: 12g
- Sodium: 180mg
Frequently Asked Questions
Can I use canned apple pie filling instead of fresh apples? Yes, though the texture and sweetness will be slightly different. Reduce the added sugar in the apple layer if using canned filling.
Do I need to peel the apples? Peeling gives a smoother texture throughout the cake. Leaving the skins on works too, though the texture will be slightly more rustic.
Can I make this in a bundt pan instead? This recipe is designed for a 9×13 pan. A bundt pan would need a different layering approach and adjusted bake time.
Wrapping Up
This is the kind of dessert that brings all the comfort of apple pie without the extra effort of a crust. Give it a try next time you’re craving something warm and spiced.
If you make it, I’d love to hear how it turned out. Drop a comment below, and feel free to ask if anything about the recipe isn’t clear.