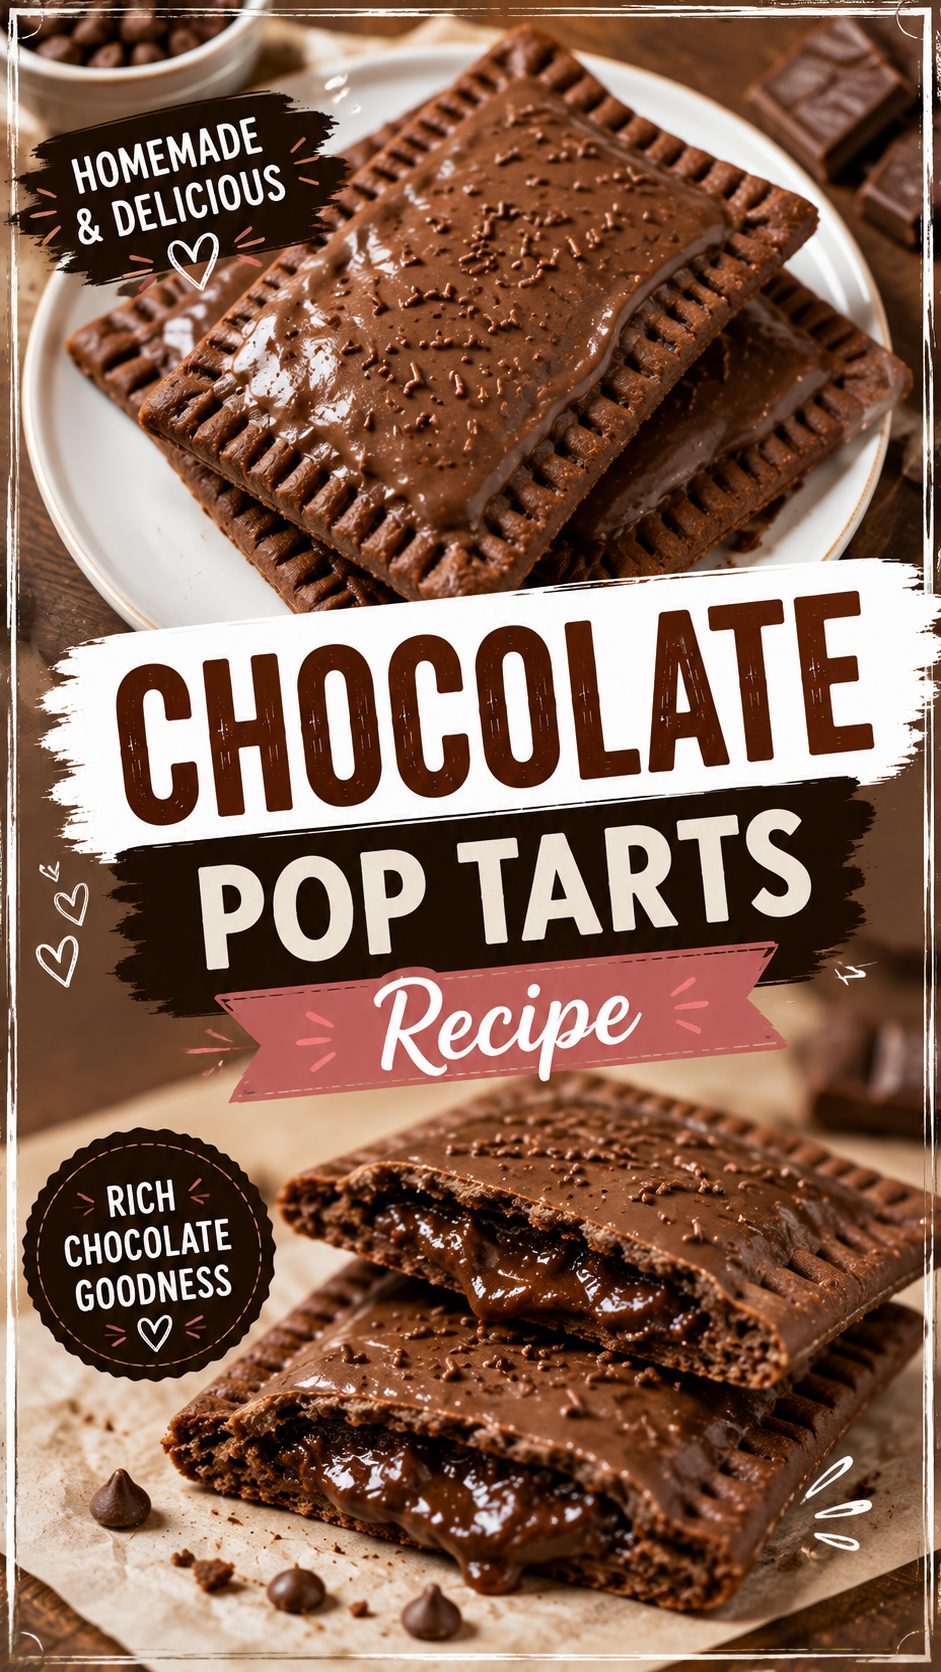
I tested three different chocolate fillings before landing on this one, and it was worth every failed batch.
Chocolate pop tarts sound simple on paper, but most homemade versions end up with a filling that either hardens like a candy bar or turns into a thin chocolate puddle. This one uses a ganache-style filling thickened just enough to stay soft and fudgy after baking, without leaking everywhere.
I make these for anyone who thinks fruit pop tarts are a waste of a pastry shell. No judgment, I get it.
Let’s build these properly.
What You’ll Need
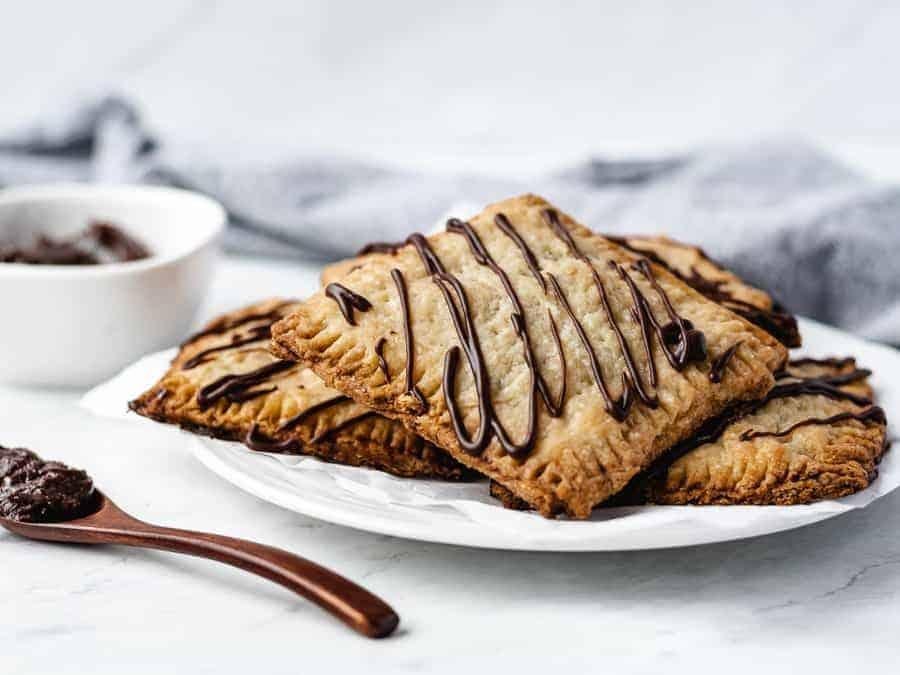
For the dough:
| Ingredient | Amount |
|---|---|
| All-purpose flour | 2 ½ cups |
| Granulated sugar | 1 tbsp |
| Cocoa powder | 2 tbsp |
| Salt | 1 tsp |
| Cold unsalted butter, cubed | 1 cup |
| Cold water | 6 to 8 tbsp |
| Egg (for egg wash) | 1, beaten |
For the chocolate filling:
| Ingredient | Amount |
|---|---|
| Semi-sweet chocolate chips | ½ cup |
| Heavy cream | ¼ cup |
| Cornstarch | 1 tsp |
For the chocolate glaze:
| Ingredient | Amount |
|---|---|
| Powdered sugar | 1 cup |
| Cocoa powder | 2 tbsp |
| Milk | 3 tbsp |
| Chocolate sprinkles (optional) | For topping |
Pro Tips
- Add cocoa powder to the dough itself, not just the filling. This gives the shell a chocolate flavor instead of relying entirely on the center.
- Let the ganache filling cool and thicken before using it. Warm ganache is too runny to hold its shape inside the pastry.
- Add the cornstarch to the ganache while it’s still warm so it dissolves smoothly without clumping.
- Chill the filled pastries before baking, this matters even more here since chocolate filling is more prone to leaking than jam.
- Don’t overbake. Chocolate filling can look done on the outside well before the pastry is actually finished, so trust the timer over the color.
Tools You’ll Need
- Rolling pin
- Pastry cutter or food processor
- Small saucepan
- Baking sheet
- Parchment paper
- Fork
- Pastry brush
Substitutions and Variations
| Original | Swap | Notes |
|---|---|---|
| Semi-sweet chocolate chips | Dark chocolate chips | Less sweet, more intense flavor |
| Heavy cream | Half and half | Slightly thinner ganache, still works |
| Chocolate glaze | Peanut butter glaze | Mix 2 tbsp peanut butter into the glaze for a chocolate peanut butter version |
| Plain filling | Add a pinch of espresso powder | Deepens the chocolate flavor without tasting like coffee |
| Chocolate sprinkles | Mini chocolate chips on top | Adds texture to the glaze |
Make Ahead Tips
- Make the ganache filling up to 3 days ahead and store covered in the fridge. Let it come to room temperature before spreading.
- Assemble unbaked pastries and freeze flat, then bake straight from frozen with a few extra minutes added.
- Glaze fresh right before serving for the best texture.
Extra Details Worth Knowing
Nutrition, roughly speaking: each pastry lands around 290 to 340 calories, on the richer side compared to fruit-filled versions.
Diet-friendly swap: using dark chocolate with a higher cocoa percentage cuts down on overall sugar while keeping the flavor bold.
Pairing idea: a cold glass of milk is the classic move, but these also work well with a scoop of vanilla ice cream for a dessert version.
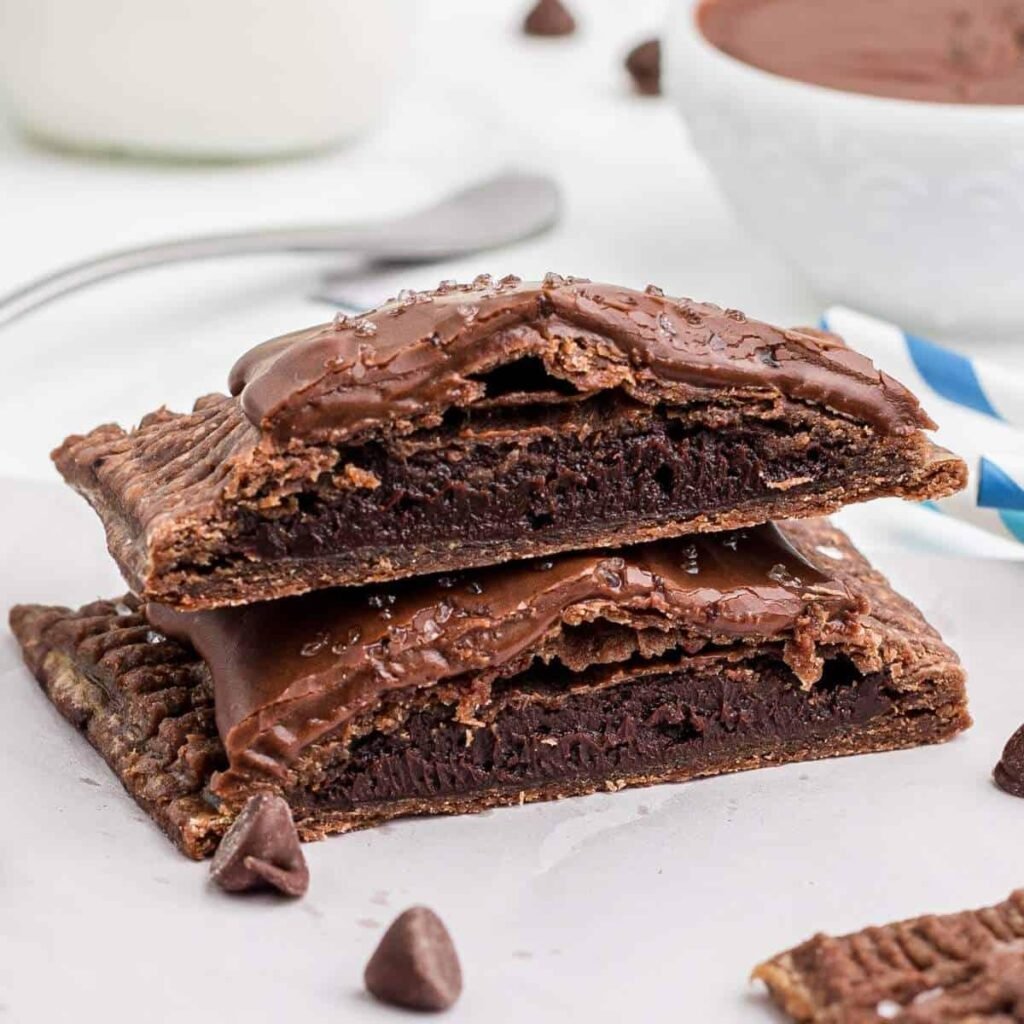
How to Make Chocolate Pop Tarts
- In a food processor or large bowl, combine the flour, sugar, cocoa powder, and salt.
- Cut in the cold butter until the mixture looks like coarse crumbs.
- Add cold water a tablespoon at a time until the dough comes together.
- Divide into two discs, wrap, and chill for at least 1 hour.
- Heat the heavy cream in a small saucepan until it just starts to simmer, then pour over the chocolate chips in a bowl. Let sit for 2 minutes, then stir until smooth.
- Whisk in the cornstarch while the ganache is still warm. Let cool for 15 to 20 minutes until thickened.
- Preheat the oven to 375°F and line a baking sheet with parchment.
- Roll out each dough disc to about ⅛ inch thick and cut into matching rectangles.
- Spoon about a tablespoon of the thickened ganache onto half the rectangles, leaving a border.
- Brush the border with egg wash, top with a second rectangle, and press the edges firmly. Crimp with a fork.
- Poke a few vent holes in the top.
- Chill the assembled pastries for 15 minutes.
- Brush with egg wash and bake for 20 to 22 minutes.
- Cool completely on a wire rack.
- Whisk together the powdered sugar, cocoa powder, and milk, then spread over the cooled pastries and add sprinkles if using.
Leftovers and Storage
- Room temperature: unglazed pastries keep for up to 2 days in an airtight container.
- Fridge: glazed pastries keep for up to 4 days.
- Freezer: freeze baked, unglazed pastries for up to 2 months.
- Reheating: toast on a low setting rather than microwaving, which can make the chocolate filling too soft.
FAQ
Why did my chocolate filling leak out while baking? The ganache likely wasn’t thickened enough before assembling. Let it cool and firm up properly before spreading it on the dough.
Can I use milk chocolate instead of semi-sweet? Yes, though the filling will be noticeably sweeter. Consider cutting a little sugar from the glaze to balance it out.
Can I add a filling like peanut butter alongside the chocolate? Yes, swirl a small spoonful of peanut butter into the ganache before assembling for a chocolate peanut butter version.
Why is the dough slightly darker than a regular pop tart dough? That’s the cocoa powder mixed into the dough itself, which gives the shell its chocolate flavor and color.
Can these be made without the cocoa powder in the dough? Yes, you can use a plain dough and rely on the filling and glaze for the chocolate flavor instead.
Wrapping Up
Fudgy filling, chocolate shell, chocolate glaze, this one is for anyone who thinks more chocolate is always the right answer.
Give this version a try and let me know in the comments how thick you got that ganache center. I’d love to hear if you tried the peanut butter swirl too.