I didn’t think I’d ever stop buying the box from the cereal aisle. Then I made these once.
Homemade pop tarts are a flaky, buttery pastry folded around a jammy filling and finished with a simple glaze. They taste like a bakery pastry pretending to be a childhood snack, and honestly, they’re not that hard to make.
This is my master recipe. Once you’ve got the dough and the folding technique down, you can fill these with basically anything. I’m using a mixed berry filling here because it’s classic, but treat this as your starting point.
Grab your rolling pin. Let’s go.
What You’ll Need
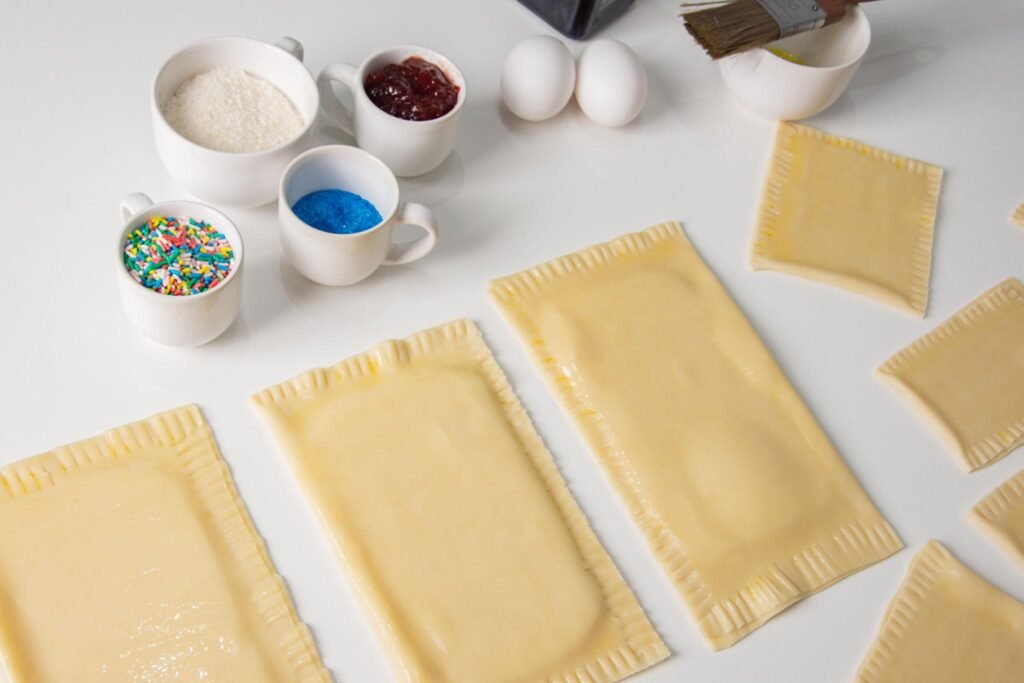
For the dough:
| Ingredient | Amount |
|---|---|
| All-purpose flour | 2 ½ cups |
| Granulated sugar | 1 tbsp |
| Salt | 1 tsp |
| Cold unsalted butter, cubed | 1 cup |
| Cold water | 6 to 8 tbsp |
| Egg (for egg wash) | 1, beaten |
For the filling:
| Ingredient | Amount |
|---|---|
| Mixed berry jam | ¾ cup |
| Cornstarch | 1 tbsp |
For the glaze:
| Ingredient | Amount |
|---|---|
| Powdered sugar | 1 cup |
| Milk | 2 to 3 tbsp |
| Vanilla extract | ½ tsp |
| Sprinkles (optional) | For topping |
Pro Tips
- Keep everything cold. Cold butter and cold water are what make the dough flaky instead of tough. If your kitchen is warm, chill the dough for 10 minutes before rolling.
- Don’t overfill. A tablespoon of filling per pastry is plenty. Too much and it leaks out during baking and burns on the pan.
- Seal the edges with a fork, and mean it. Press down firmly all the way around. A weak seal is the number one reason filling escapes.
- Chill the assembled pastries for 15 minutes before baking. This keeps the shape sharp and prevents spreading in the oven.
- Poke a few holes in the top before baking. This lets steam escape so the filling doesn’t build up pressure and blow out the side.
Tools You’ll Need
- Rolling pin
- Pastry cutter or food processor
- Baking sheet
- Parchment paper
- Fork
- Pastry brush
- Small bowl for glaze
Substitutions and Variations
| Original | Swap | Notes |
|---|---|---|
| Mixed berry jam | Any jam or preserve | Peach, apricot, and fig all work great |
| Butter | Cold vegan butter | Works for a dairy-free dough |
| Powdered sugar glaze | Cream cheese glaze | Whisk in 2 tbsp softened cream cheese for a tangier finish |
| Store-bought jam | Homemade fruit compote | Cook down 1 cup of fruit with 2 tbsp sugar until thick |
| Sprinkles | Crushed freeze-dried fruit | Adds flavor along with color |
Make Ahead Tips
- Make the dough up to 2 days ahead and keep it wrapped tightly in the fridge.
- Assemble the pastries and freeze them unbaked. Lay them flat on a tray until solid, then transfer to a bag. Bake straight from frozen, adding a few extra minutes.
- Glaze is best made fresh, but leftover glaze keeps in the fridge for a few days if covered.
Extra Details Worth Knowing
Nutrition, roughly speaking: each pastry lands around 250 to 300 calories depending on filling and glaze amount.
Time efficiency tip: make a double batch of dough on a slower day and freeze half. Future you gets pop tarts in under 30 minutes.
Pairing idea: a glass of cold milk is the obvious one, but these are also great alongside a strong coffee for an adult version of the childhood snack.
How to Make Homemade Pop Tarts
- In a food processor or large bowl, combine the flour, sugar, and salt.
- Add the cold cubed butter and pulse or cut in with a pastry cutter until the mixture looks like coarse crumbs.
- Add cold water one tablespoon at a time, mixing just until the dough comes together.
- Divide the dough in half, shape into discs, wrap in plastic, and chill for at least 1 hour.
- In a small bowl, stir the cornstarch into the jam until smooth.
- Preheat your oven to 375°F and line a baking sheet with parchment paper.
- Roll out one disc of dough to about ⅛ inch thick. Trim into rectangles, roughly 3 by 4 inches.
- Repeat with the second disc so you have matching top and bottom pieces.
- Place a tablespoon of the jam mixture in the center of half the rectangles, leaving a border around the edges.
- Brush the border with egg wash, then place a second rectangle on top. Press the edges together and crimp with a fork.
- Poke a few small holes in the top of each pastry.
- Transfer to the baking sheet and chill for 15 minutes.
- Brush the tops with egg wash and bake for 20 to 22 minutes, until golden brown.
- Let cool completely before glazing.
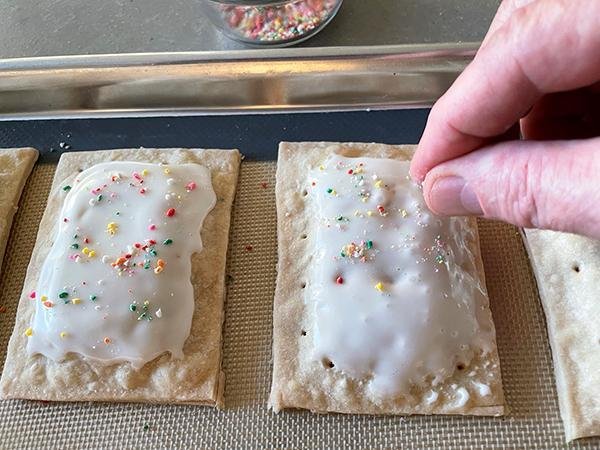
- Whisk together the powdered sugar, milk, and vanilla until smooth, then spread over the cooled pastries and add sprinkles if using.
Leftovers and Storage
- Room temperature: unglazed pastries keep in an airtight container for 2 days.
- Fridge: glazed pastries keep for up to 4 days, though the glaze softens a little.
- Freezer: freeze baked, unglazed pastries for up to 2 months.
- Reheating: a toaster or toaster oven brings back the crispness far better than a microwave.
FAQ
Can I use store-bought pie crust instead of making dough? Yes, it works in a pinch, though the texture is slightly less flaky than a proper cold-butter dough.
Why did my filling leak out during baking? Usually an underfilled seal or too much filling. Press the fork edges firmly and stick to about a tablespoon per pastry.
Can I make these savory instead of sweet? Yes, the dough works well with savory fillings too, just skip the sugar in the dough and the glaze on top.
How do I keep the glaze from cracking? Make sure the pastries are completely cool before glazing. Glazing warm pastries causes the sugar to set unevenly.
Can I toast these straight from the freezer? Bake them fully first, then freeze. Reheat frozen baked pastries in a toaster on a low setting.
Wrapping Up
Once you’ve made these from scratch, the foil-wrapped version from the store just doesn’t hit the same anymore.
Try this base recipe first, then start experimenting with your own fillings. Let me know in the comments what flavor you tried and how the dough worked out for you.