I used to walk right past beef cheeks at the butcher counter.
They looked tough, unfamiliar, and honestly a little intimidating.
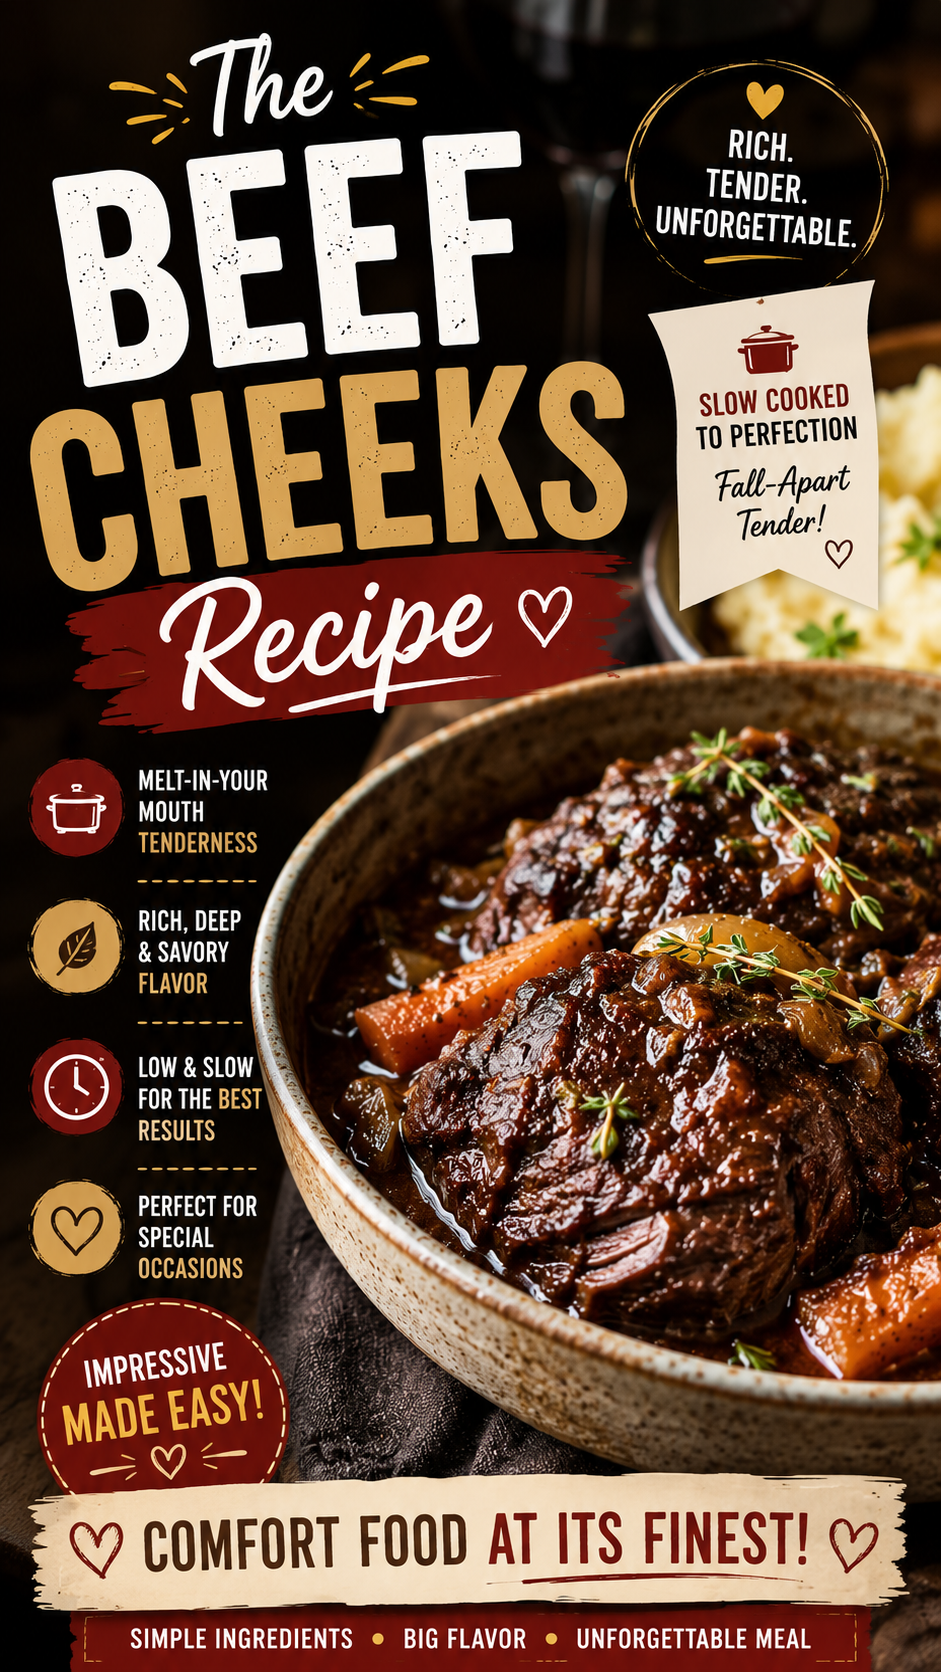
Then I finally cooked them low and slow, and within minutes of the first bite, I understood why chefs love this cut so much.
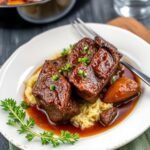
They come out so tender you don’t even need a knife. Just a fork and a little patience.
Why This Recipe Works
Beef cheeks are a working muscle, which means they’re loaded with connective tissue. Cooked quickly, that tissue makes the meat tough and chewy.
Cooked low and slow, that same connective tissue breaks down into gelatin. That’s what gives you that rich, almost sticky sauce and meat that shreds apart with barely any pressure.
Searing the cheeks first is what builds the deep, savory base for the braising liquid. Don’t skip it, even though it adds a few extra minutes. 🥩
What You’ll Need
| Ingredient | Amount |
|---|---|
| Beef cheeks, trimmed | 2 lbs (about 4 cheeks) |
| Salt | 1 tsp, plus more to taste |
| Black pepper | 1/2 tsp |
| Olive oil | 2 tbsp |
| Yellow onion, diced | 1 medium |
| Carrots, diced | 2 medium |
| Celery stalks, diced | 2 |
| Garlic, minced | 4 cloves |
| Tomato paste | 2 tbsp |
| Red wine | 1 cup |
| Beef broth | 2 cups |
| Bay leaves | 2 |
| Fresh thyme sprigs | 4 |
| Fresh rosemary sprig | 1 |
Ask your butcher for beef cheeks specifically if you don’t see them out. Most will have them, they just aren’t always on display.
Tools You’ll Need
- Dutch oven or heavy oven-safe pot with lid
- Tongs
- Cutting board and knife
- Measuring cups and spoons
- Ladle
- Fine mesh strainer (optional, for a smoother sauce)
Pro Tips
1. Pat the cheeks completely dry before searing. Any surface moisture will steam the meat instead of browning it, and that browning is where a lot of the flavor comes from.
2. Don’t crowd the pot when searing. Work in batches if needed. Overcrowding drops the pan temperature and you’ll end up steaming instead of getting a proper sear.
3. Deglaze with the wine and scrape up every browned bit. Those browned bits stuck to the bottom of the pot are packed with flavor and will dissolve right into your sauce.
4. Check for doneness by feel, not time. The cheeks are done when they pull apart easily with a fork. This can take anywhere from 3 to 4 hours depending on your oven and the size of the cheeks.
5. Skim the fat off the top before serving. Beef cheeks release a good amount of fat as they braise. A quick skim with a spoon makes the sauce noticeably richer without feeling greasy.
Substitutions and Variations
- No red wine: Swap it for an equal amount of additional beef broth plus 1 tablespoon of balsamic vinegar.
- Slow cooker version: Sear the cheeks and sauté the vegetables on the stovetop first, then transfer everything to a slow cooker on low for 7 to 8 hours.
- Instant Pot version: Sear using the sauté function, then pressure cook on high for 60 to 70 minutes with a natural release.
- Different braising liquid: Try beer instead of wine for a deeper, maltier flavor.
- Add mushrooms: Toss in 8 ounces of quartered mushrooms during the last hour of braising.
- Spicier version: Add a pinch of red pepper flakes with the garlic.
Make Ahead Tips
This dish is actually better the next day. The flavors have more time to settle into the meat and sauce.
Make it up to 2 days ahead, store it covered in the fridge, and reheat gently on the stovetop over low heat before serving.
How to Make It
- Season the beef cheeks generously with salt and pepper on all sides.
- Heat the olive oil in a Dutch oven over medium-high heat. Sear the cheeks in batches, about 3 minutes per side, until deeply browned. Remove and set aside.
- Preheat your oven to 325°F.
- In the same pot, add the onion, carrots, and celery. Cook for 5 to 6 minutes, until softened.
- Add the garlic and tomato paste. Cook for 1 minute, stirring constantly.
- Pour in the red wine, scraping up any browned bits from the bottom of the pot. Simmer for 2 to 3 minutes to reduce slightly.
- Add the beef broth, bay leaves, thyme, and rosemary. Return the beef cheeks to the pot, nestling them into the liquid.
- Cover and transfer to the oven. Braise for 3 to 4 hours, until the cheeks are fork-tender.
- Remove the cheeks and set aside. Strain the sauce if you want a smoother finish, or leave the vegetables in for a heartier texture.
- Skim excess fat from the surface, then return the cheeks to the sauce before serving.
Nutrition and Diet Notes
Here’s roughly what you’re working with per serving (recipe serves 4):
- Calories: about 420
- Protein: about 38g
- Fat: about 22g
For a lower fat version, trim the cheeks well before cooking and skim the sauce thoroughly before serving.
What to Serve It With
- Creamy mashed potatoes or soft polenta to soak up the sauce
- Roasted root vegetables on the side
- A simple green salad with a sharp vinaigrette to cut through the richness
Leftovers and Storage
Store leftovers in an airtight container in the fridge for up to 4 days.
Reheat gently on the stovetop over low heat, adding a splash of broth if the sauce has thickened too much.
This dish freezes very well. Store in a freezer-safe container for up to 3 months, and thaw overnight in the fridge before reheating.
FAQ
What do beef cheeks taste like?
Rich and beefy, similar to short ribs but slightly more tender once fully braised.
Can I cook this at a lower temperature for longer?
Yes. 300°F for 4 to 5 hours works well if you want an even more hands-off, low-and-slow result.
Why are my beef cheeks still tough after a few hours?
They likely need more time. Unlike a quick-cooking cut, beef cheeks need enough time for the connective tissue to fully break down, sometimes closer to 4 hours.
Can I use a different cut instead?
Short ribs or oxtail work with the same method if beef cheeks aren’t available.
Do I need to sear the meat first?
It’s not required, but it adds a significant amount of flavor. Skipping it will give you a milder, less developed sauce.
Wrapping Up
Beef cheeks went from a cut I overlooked to one I actively seek out at the butcher now.
It takes time, but almost none of it is hands-on. Most of the work is just letting the oven do its thing.
If you make this, come back and tell me how it turned out. Did you go with wine or beer? Add the mushrooms? 🍷
I’d love to hear how yours came together